1Before you begin
You'll need:
- An iPad on iPadOS 15 or newer — any standard iPad from 2017 onward. It doesn't need to be new; a good second-hand iPad is ideal for a permanent station.
- An audio lead from the iPad to your amplifier's line input — a 3.5 mm aux lead, or a USB-C adapter for iPads without a headphone jack. Full details in the Installation Guide.
- Power — the iPad stays plugged in permanently.
- Your Wi-Fi — only needed for the phone remote, Apple Music, Spotify and radio. The timetable, your recordings and your own music files all run offline.
2Install and first launch
- On the iPad, install Announcement & Music Scheduler from the App Store and open it.
- Your 7-day free trial starts automatically. Every feature is unlocked, and there's no account and no sign-up.
- Along the bottom are the tabs the whole app lives in: Home, Schedule, Announce, Messages, Bells, Music, Quiet Days, Emergency and Settings.
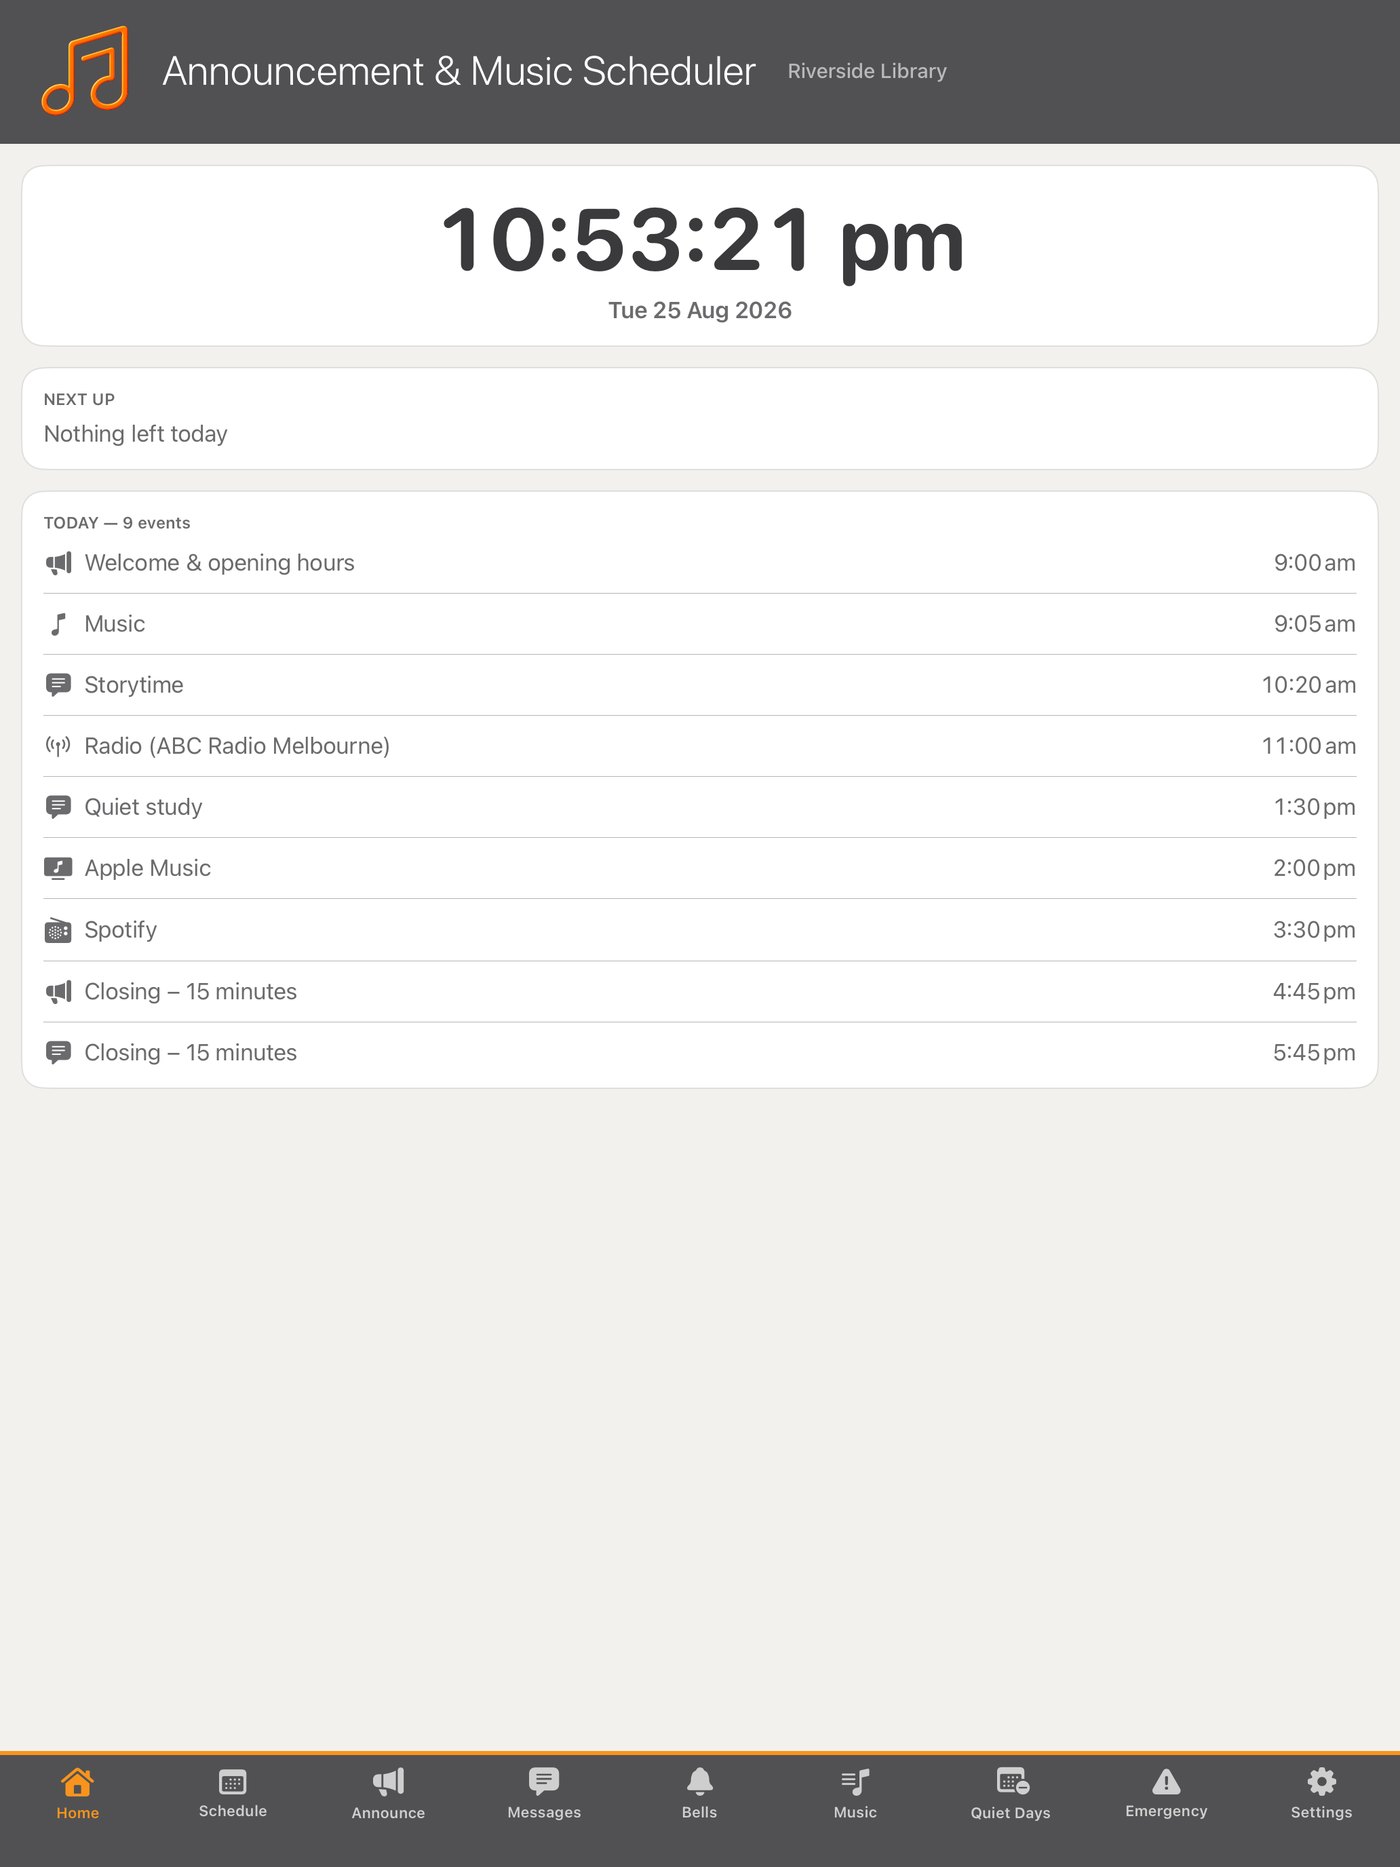
The screen stays awake on its own while the app is open. There's nothing to configure for that.
3Venue name and the idle display
- Go to Settings → System identity.
- Set the venue name — for example Riverside Library. This is what appears on the idle display and in the header.
- Set the system name if you run more than one station. Phones see them as "System name (Venue name)", so a second site is easy to tell apart.
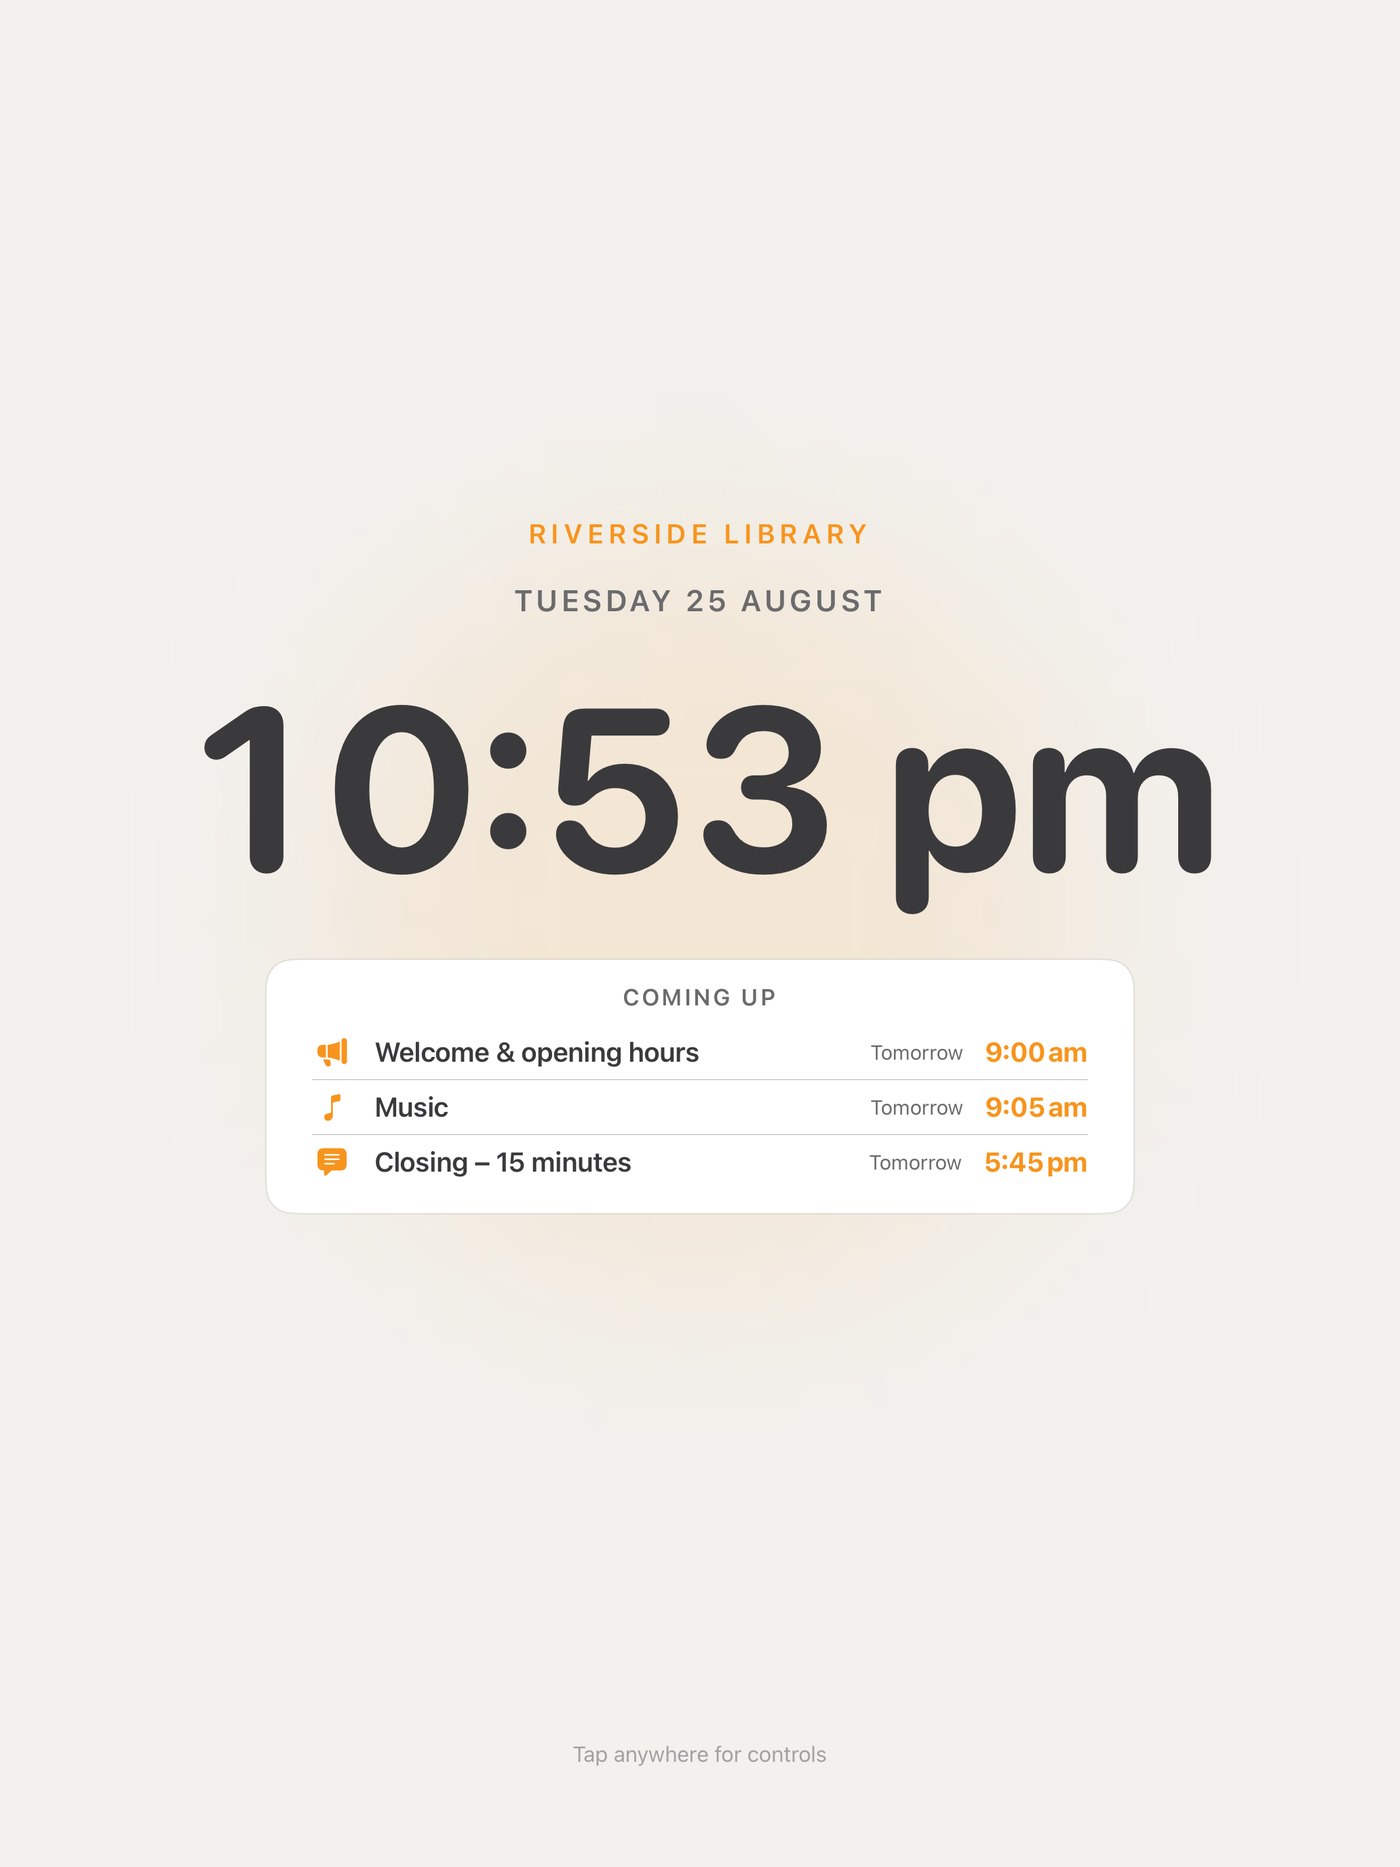
Leave the iPad alone for a minute and it becomes the venue display: your venue's name above a large clock, with the date and what's coming up. Any tap brings the controls straight back, or the PIN pad if the screen is locked.
4Recorded announcements
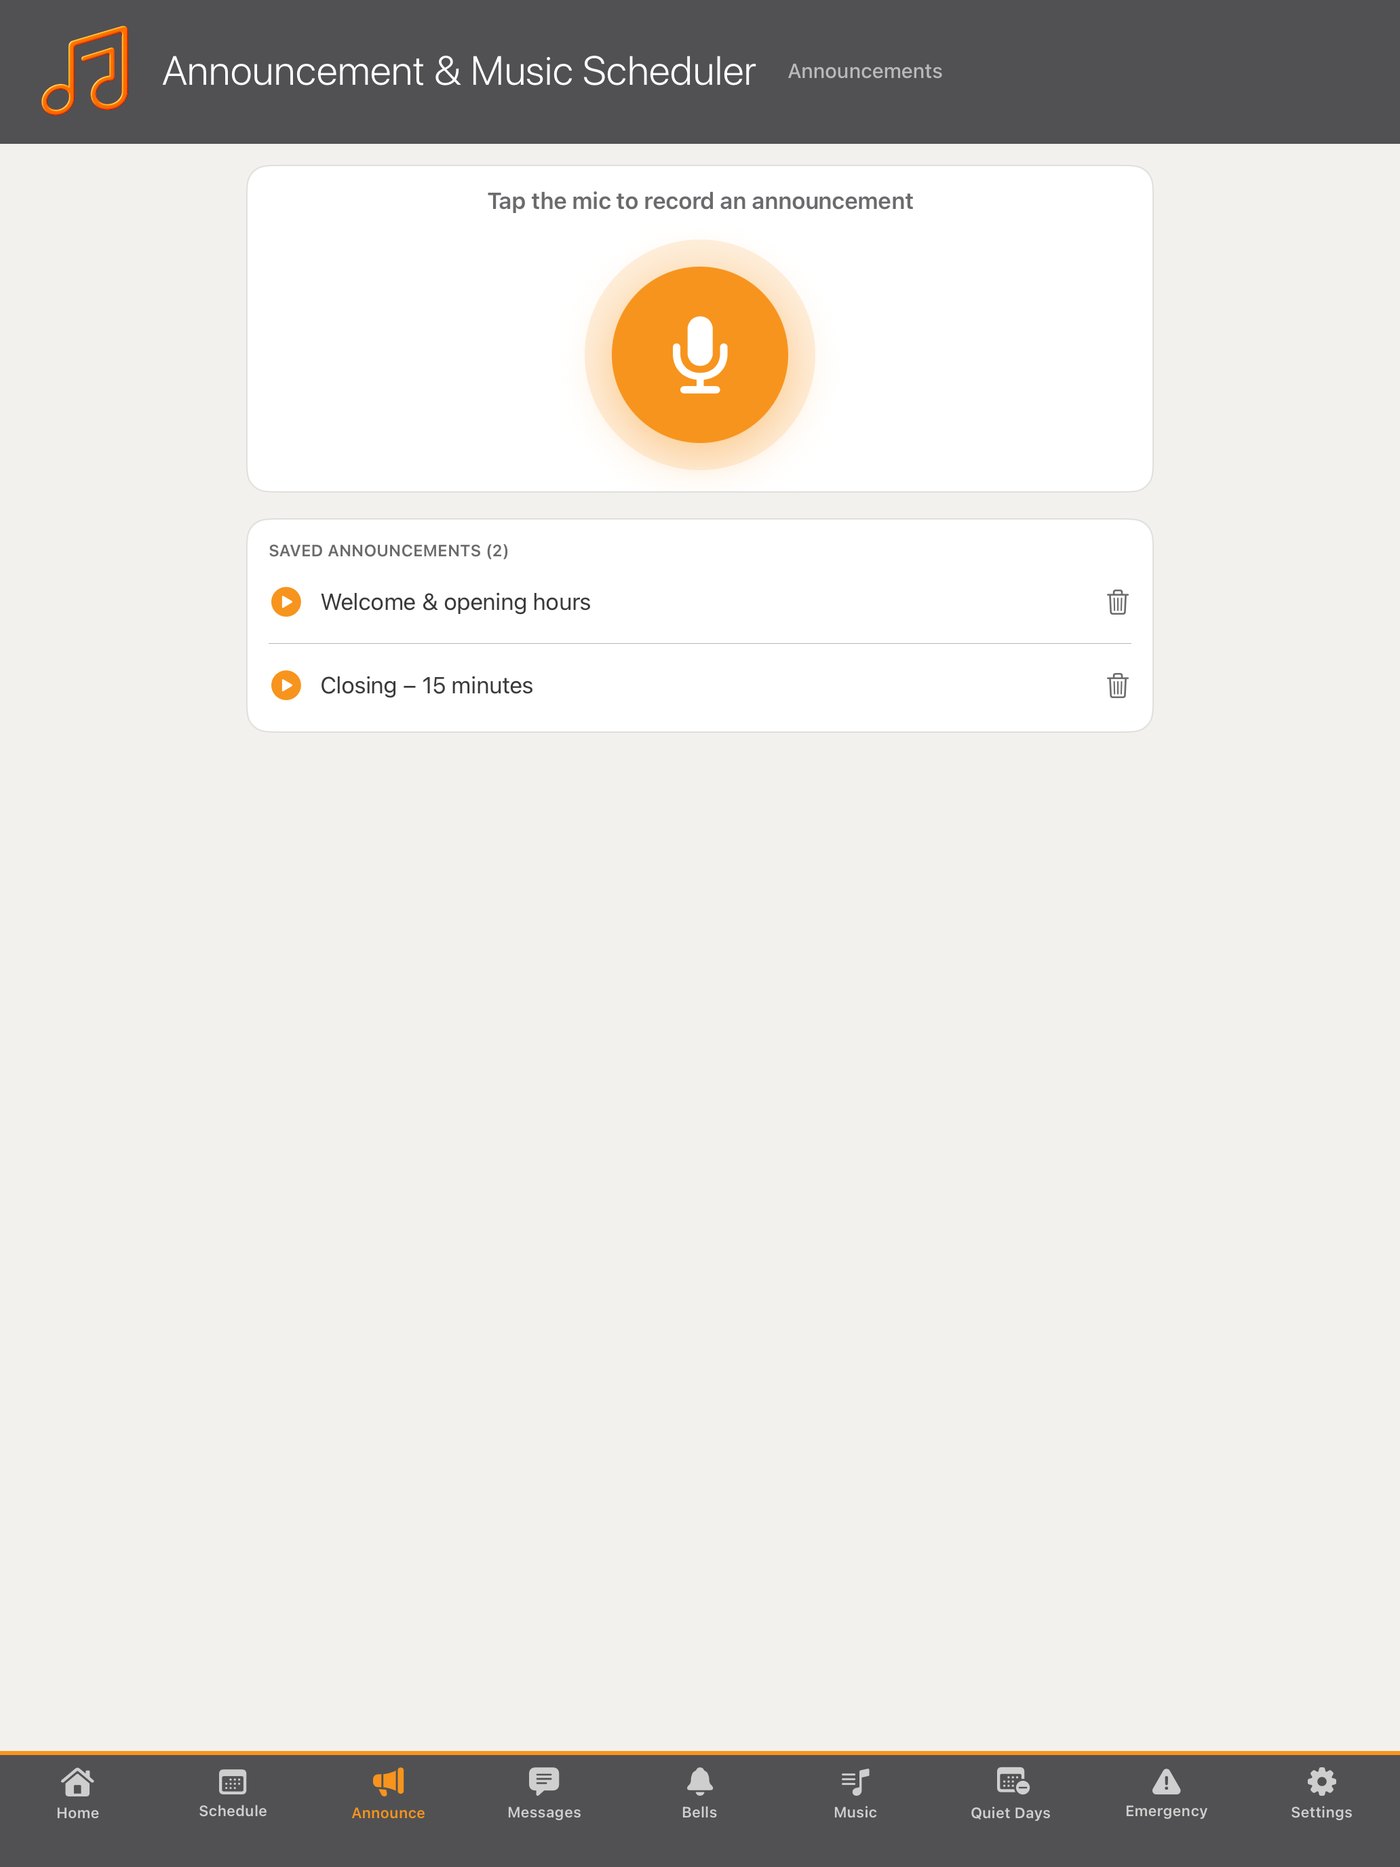
The Announce tab is for announcements in a real human voice — yours.
- Tap the big microphone and speak. Tap again to stop.
- Play it back to check it, then Play over the speakers to send it to the PA right now.
- Save to library keeps it for reuse. Saved announcements appear in the list underneath and play in one tap.
Every announcement plays with an attention chime first and a loudness boost, so it cuts through a noisy room. Music ducks automatically while it plays and comes back afterwards.
5Spoken messages
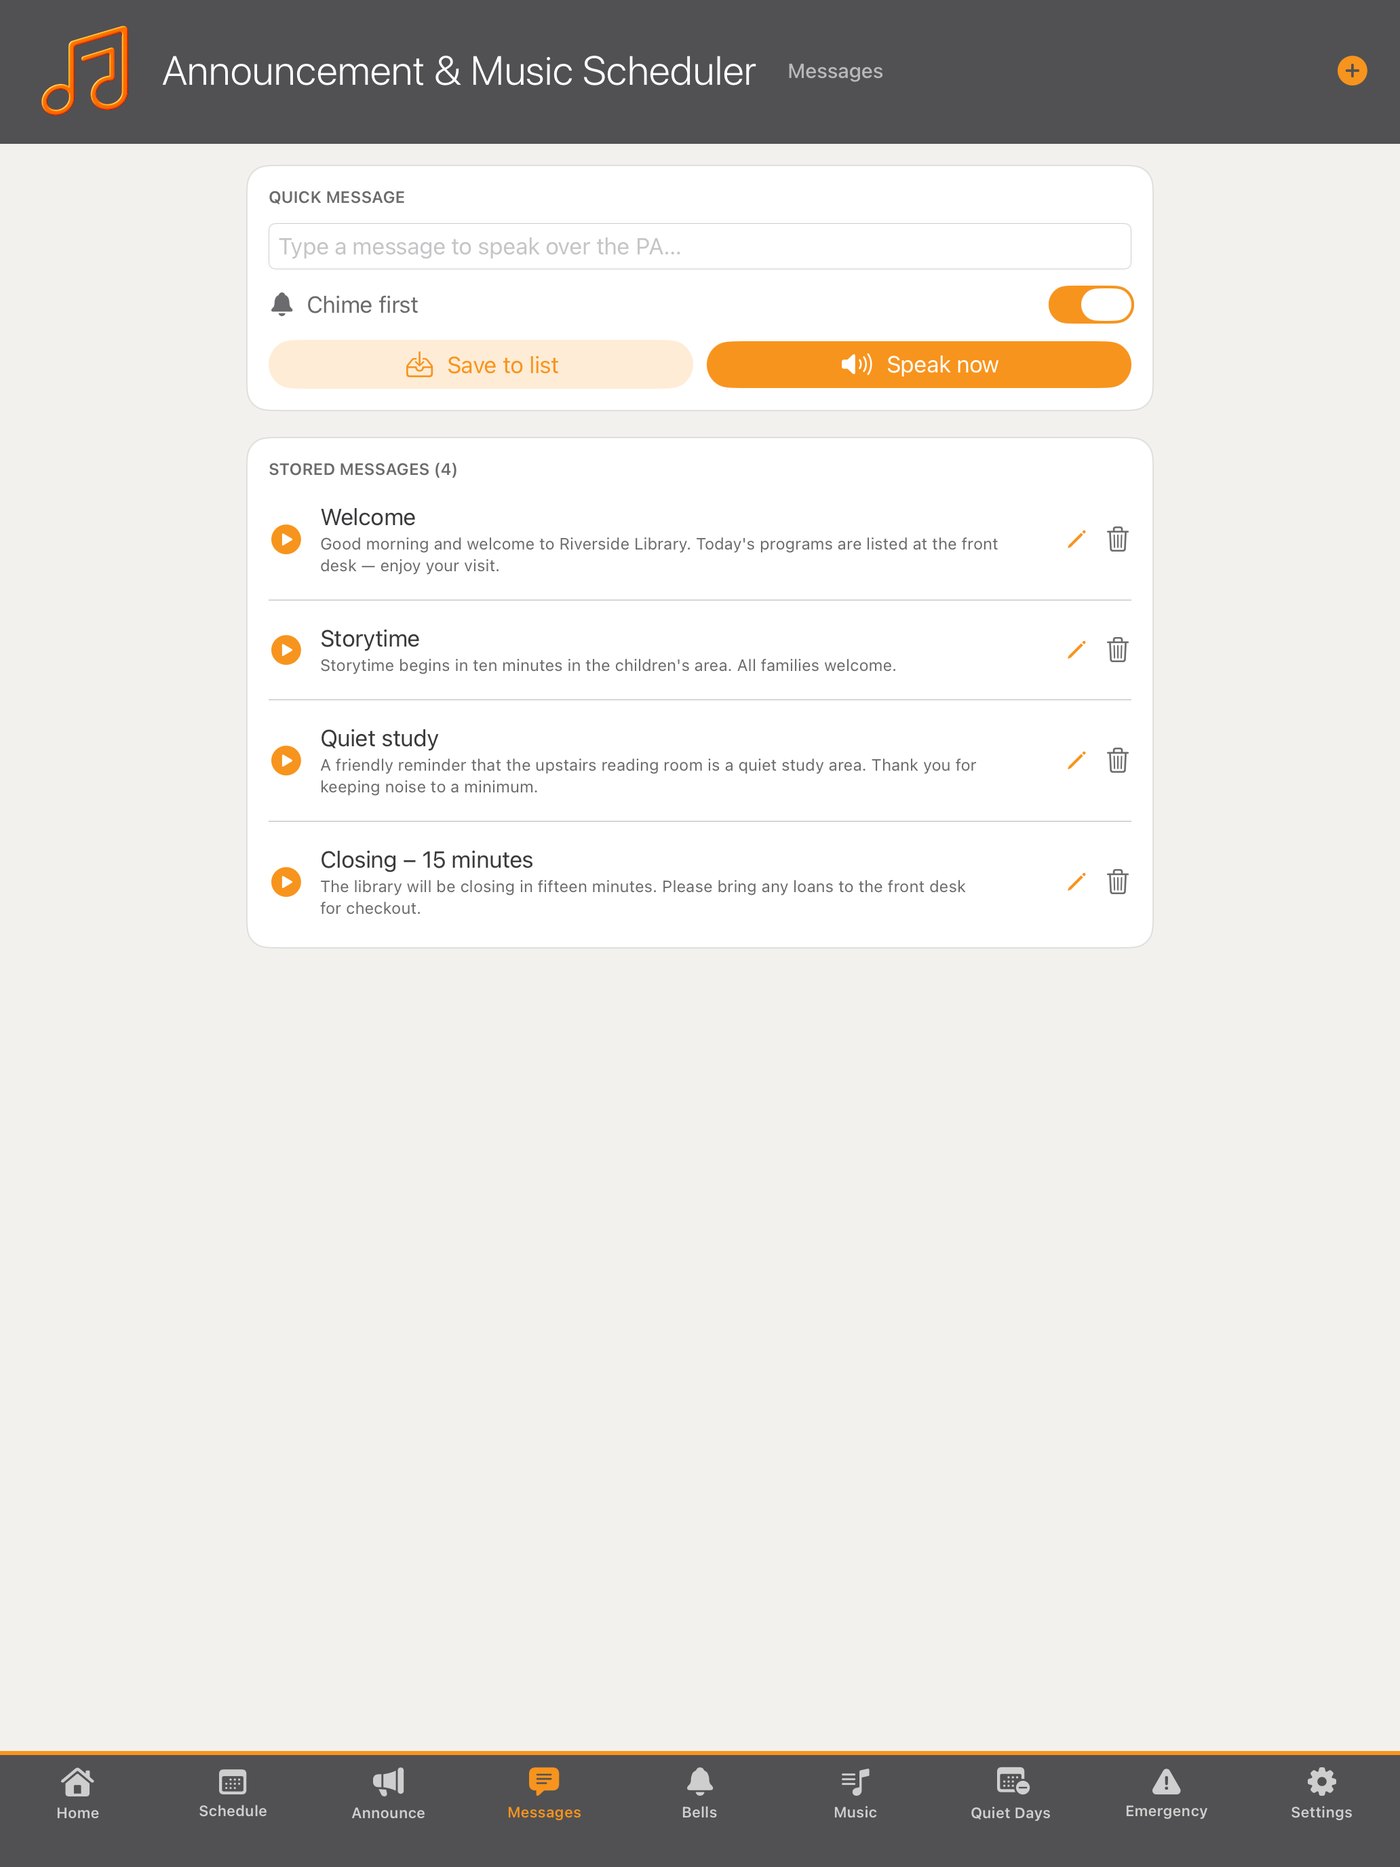
The Messages tab is for announcements you'd rather type than record. An Australian announcer voice reads them over the PA with the same chime and ducking.
- Tap +, give the message a title, and type what should be said.
- Play sends it to the PA immediately.
- Saved messages can be scheduled exactly like a recording.
6Bells
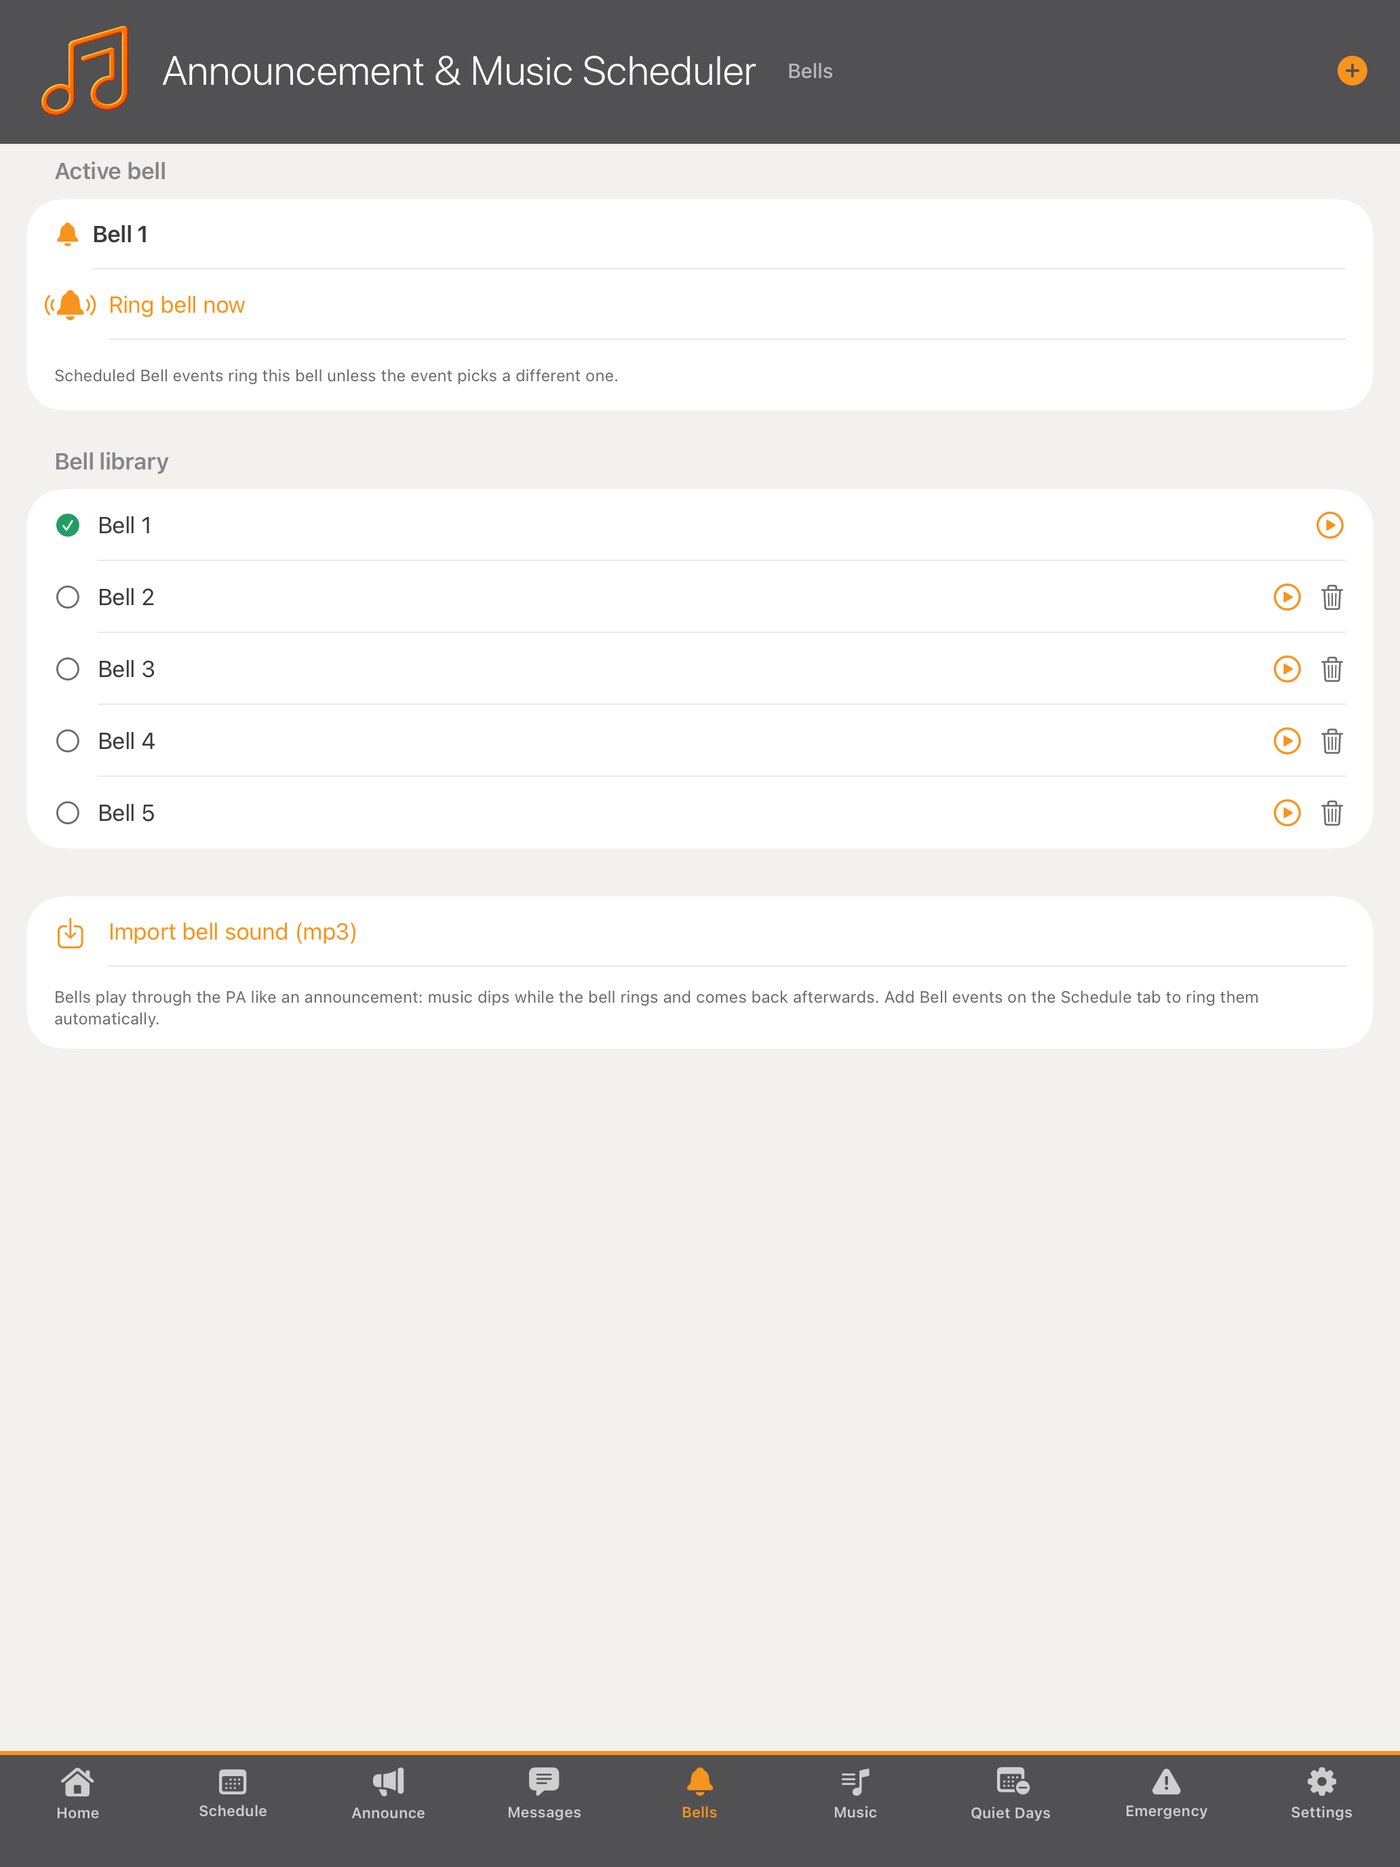
The Bells tab holds a library of bell sounds for sites that run to a bell: class changes, shift changes, closing warnings.
- Tap any bell to make it the active bell, and test it through your speakers.
- Ring bell now rings one manually at any moment.
- Bells schedule like anything else — see Building the week.
7Your own music
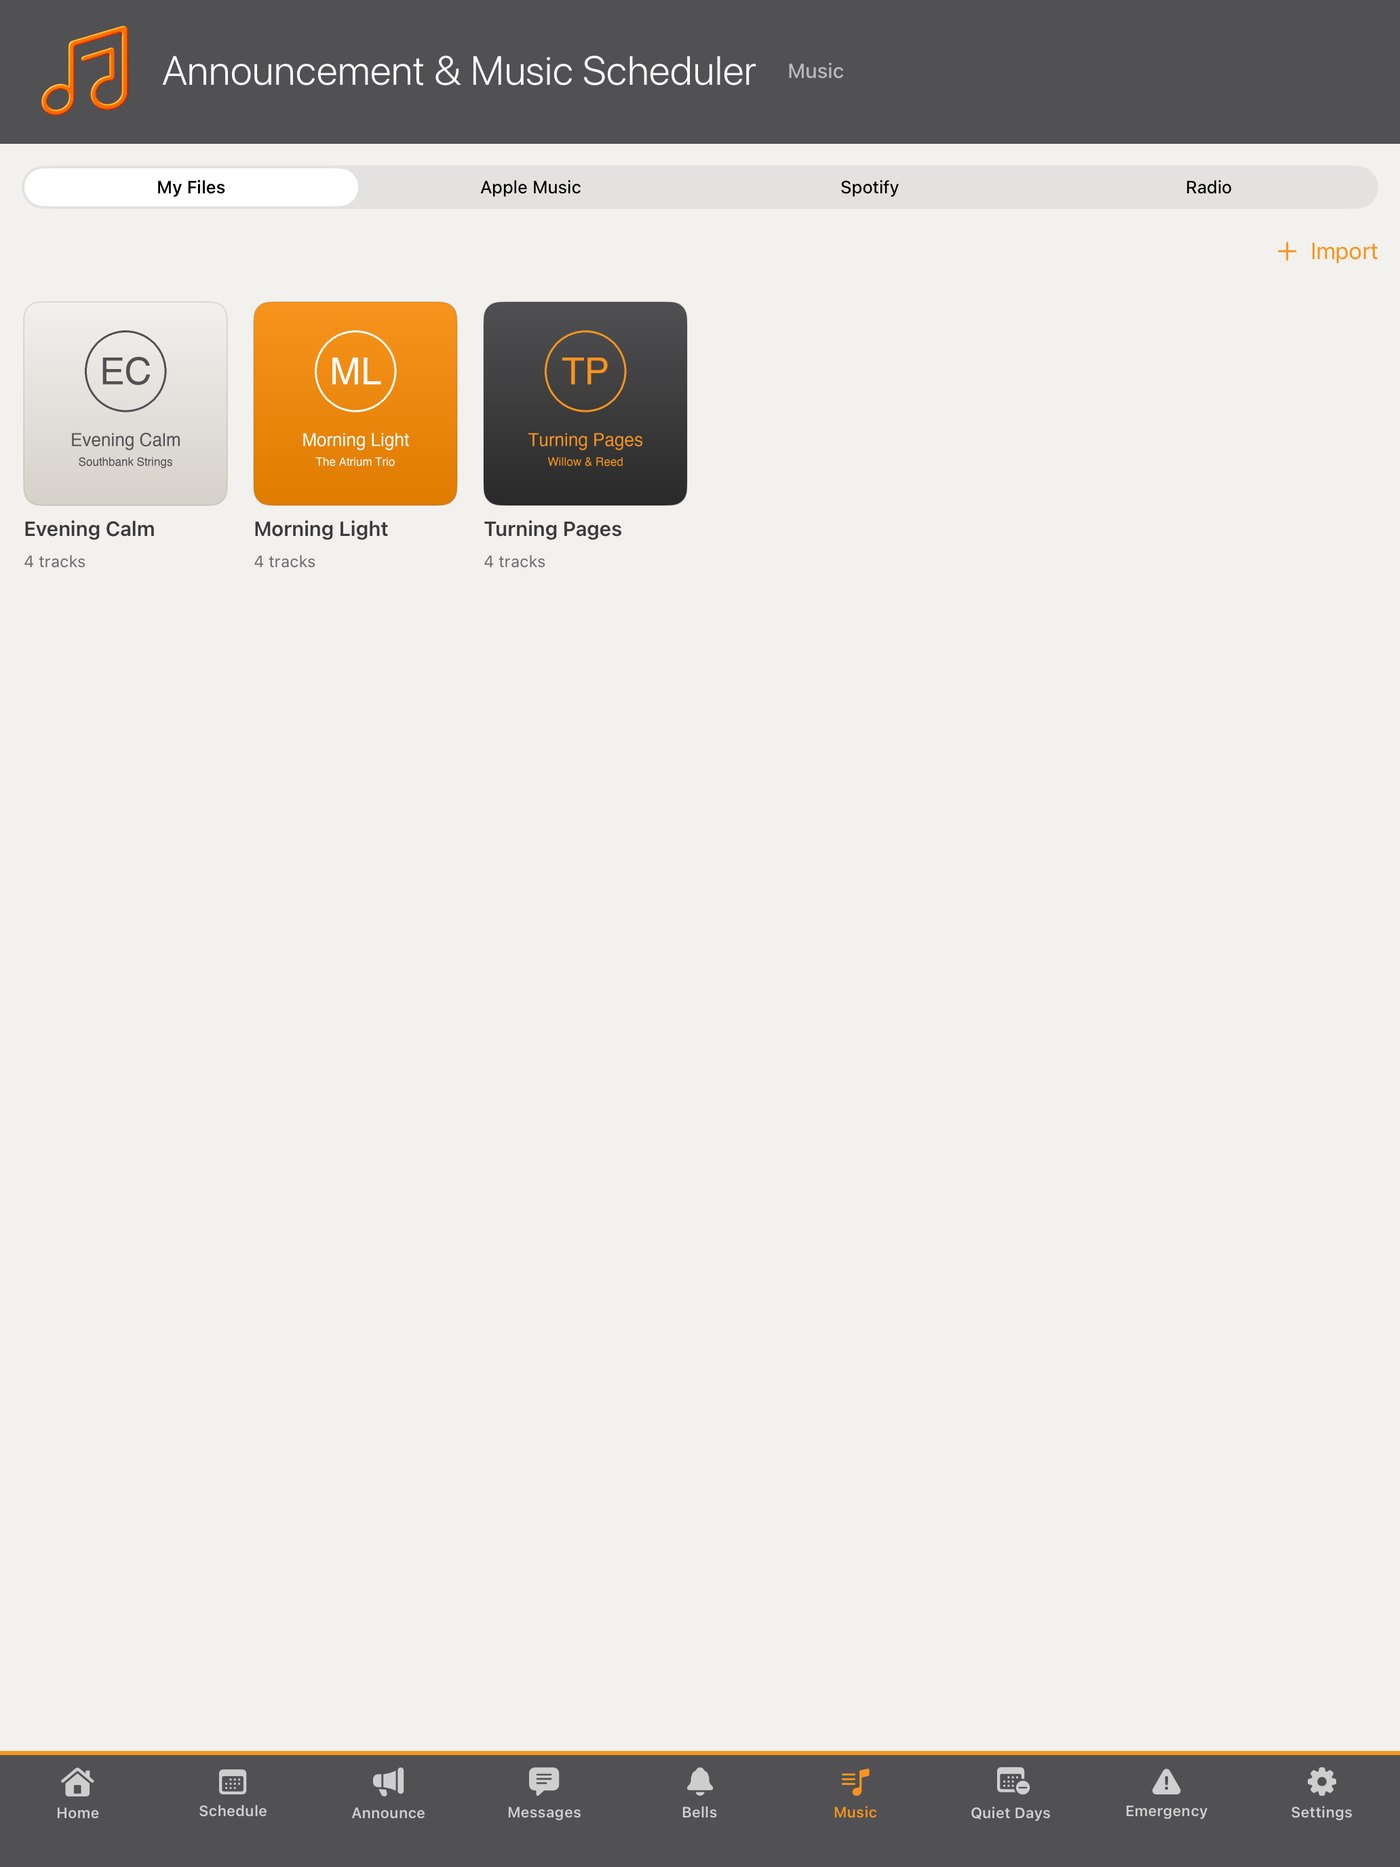
The Music tab holds music stored on the iPad itself, which plays with no internet at all. This is the most reliable option and the one to use for anything that must not fail.
- Tap Import album folder… to bring in a whole album at once, artwork included. Or Import songs… for individual files.
- If artwork is missing or wrong, tap Set cover… and pick a picture.
8Apple Music (optional)
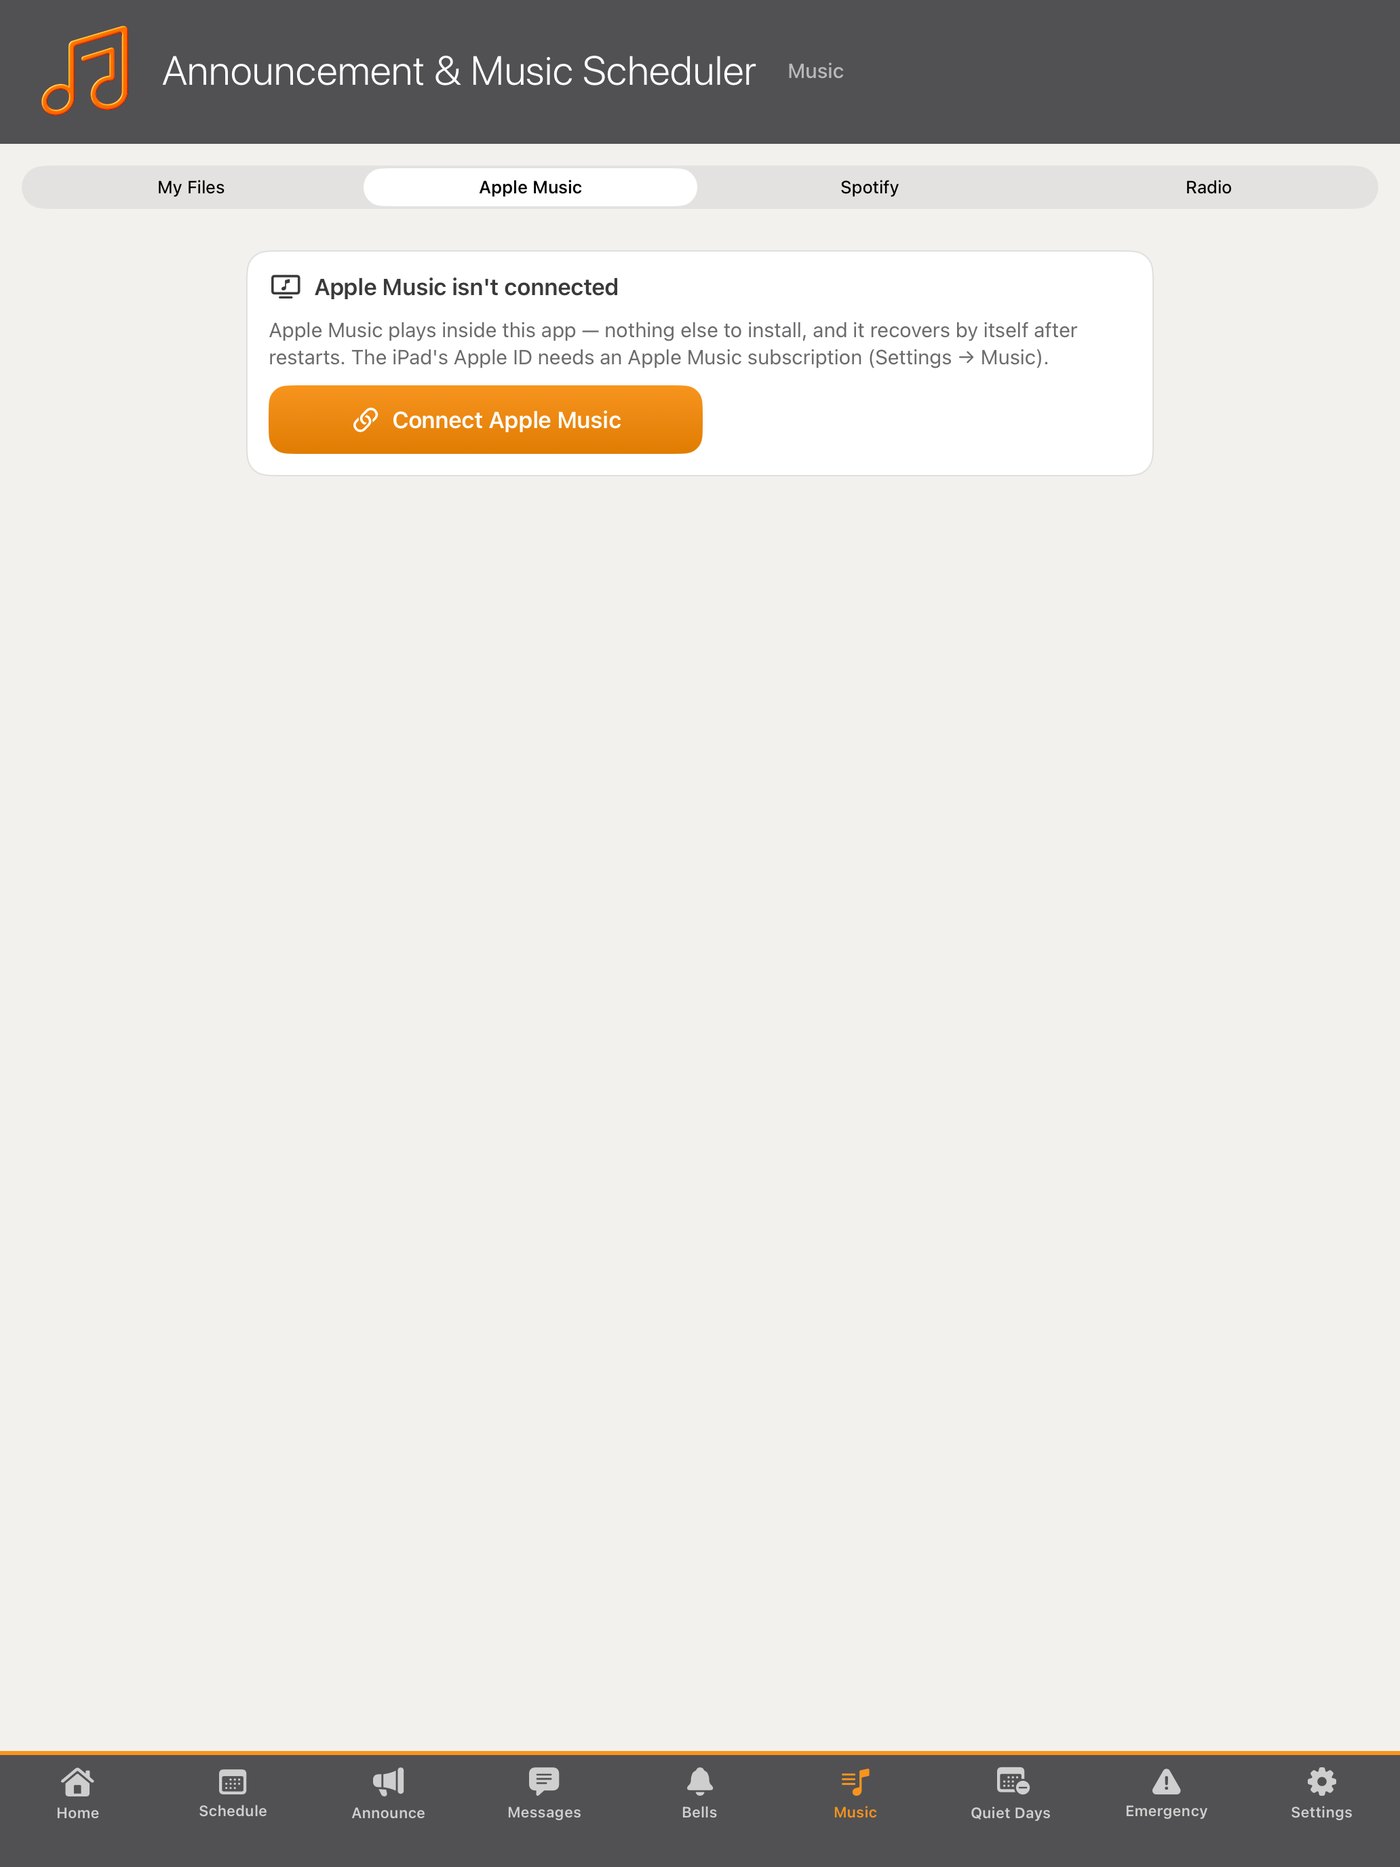
If the iPad is signed in to an Apple Music subscription, the station can stream playlists.
- In Settings → Apple Music, tap Connect and allow access.
- When adding a music event, set the source to Apple Music and choose a playlist.
9Spotify (optional)
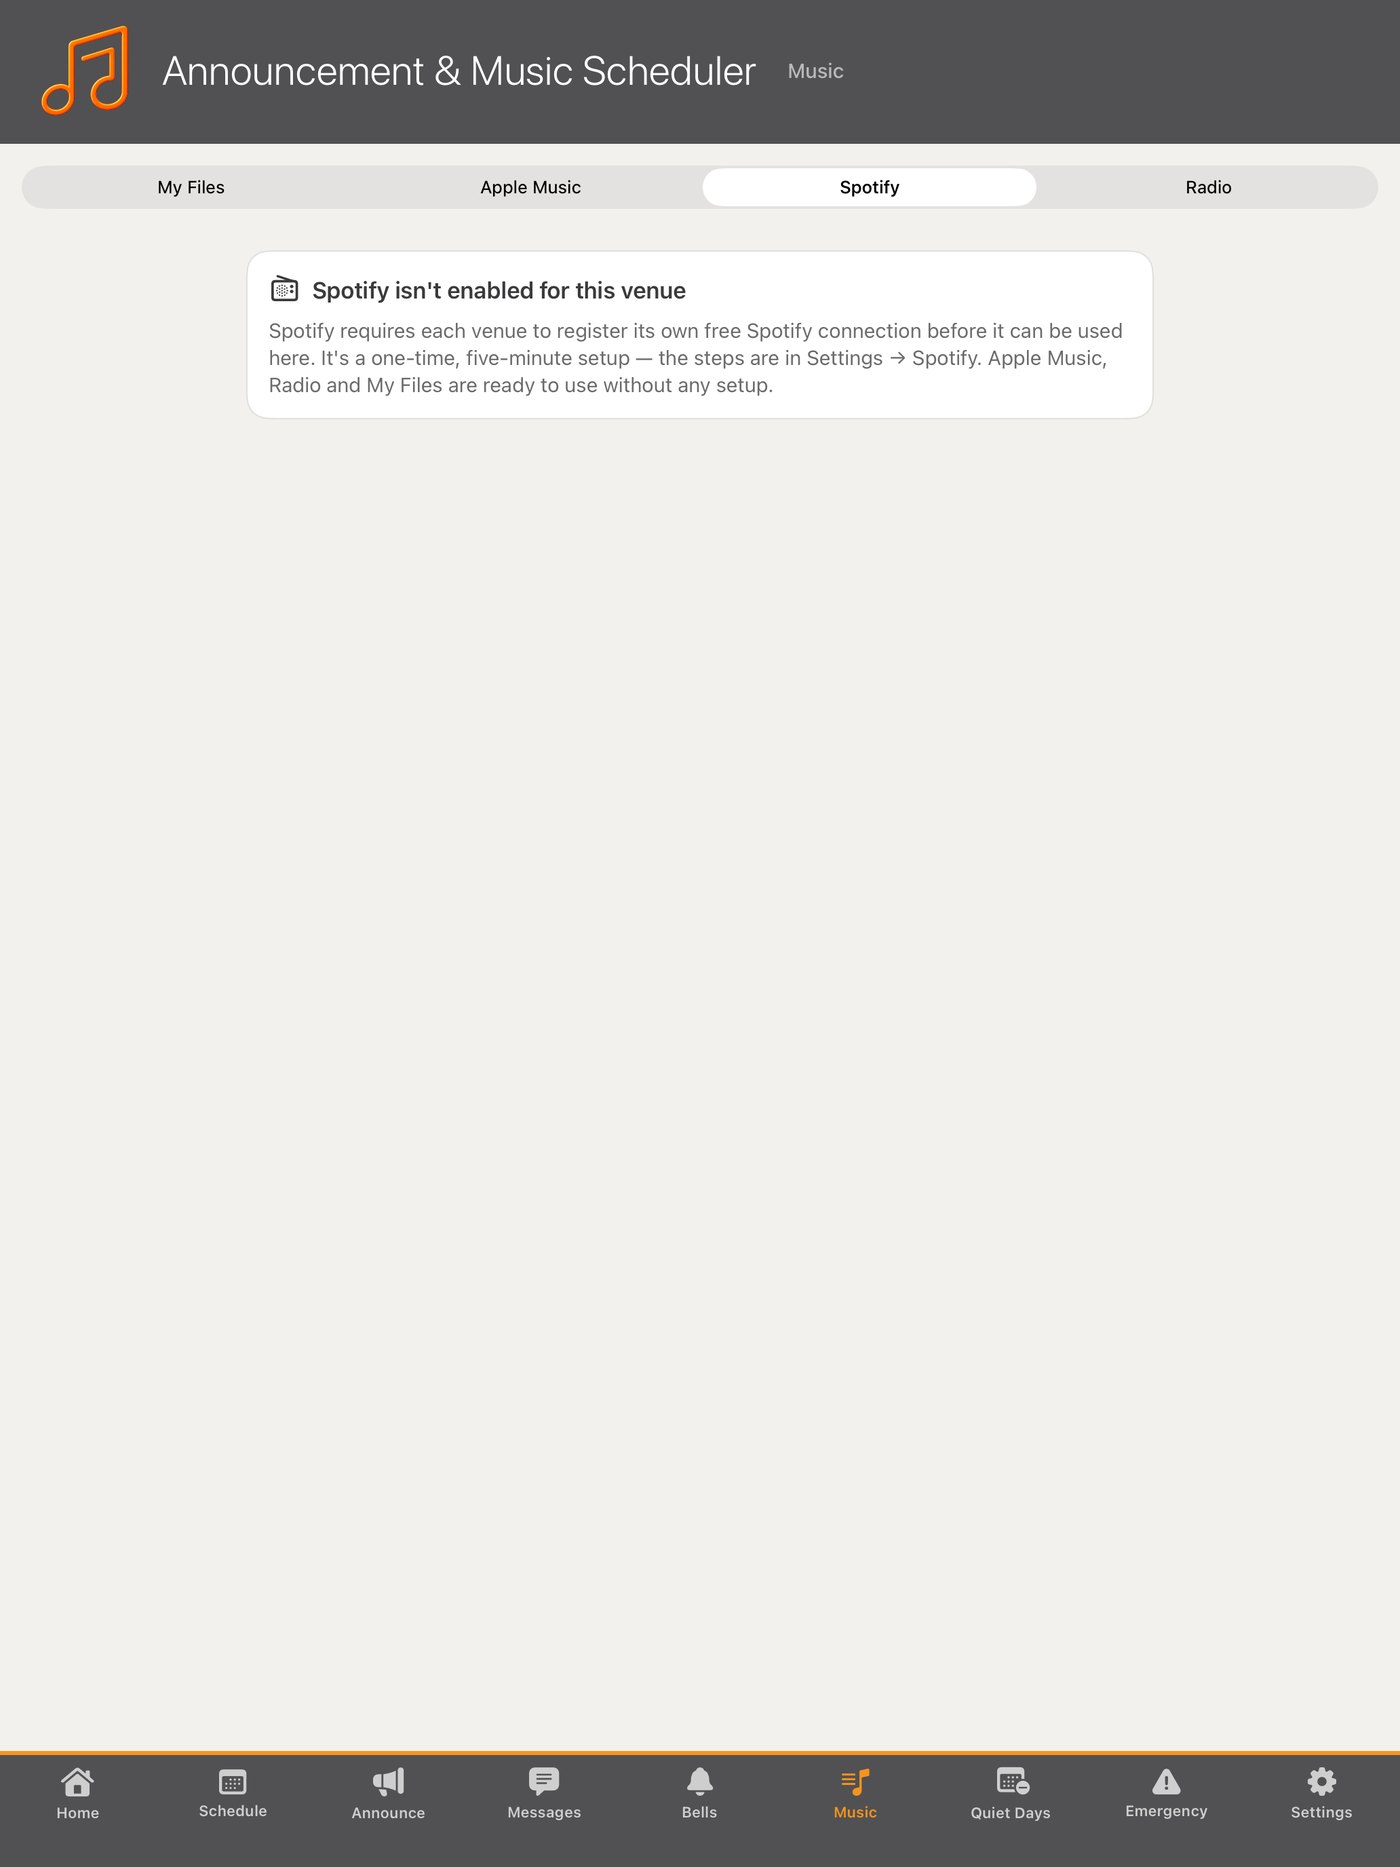
Spotify connects through your own account and plays inside this app, so the iPad never switches away from the station screen.
- Make sure the iPad has the Spotify app installed and signed in to a Premium account. Spotify requires Premium for this kind of playback.
- In Settings → Spotify, tap Link Spotify account and sign in.
- When adding a music event, set the source to Spotify and pick a playlist.
10Internet radio
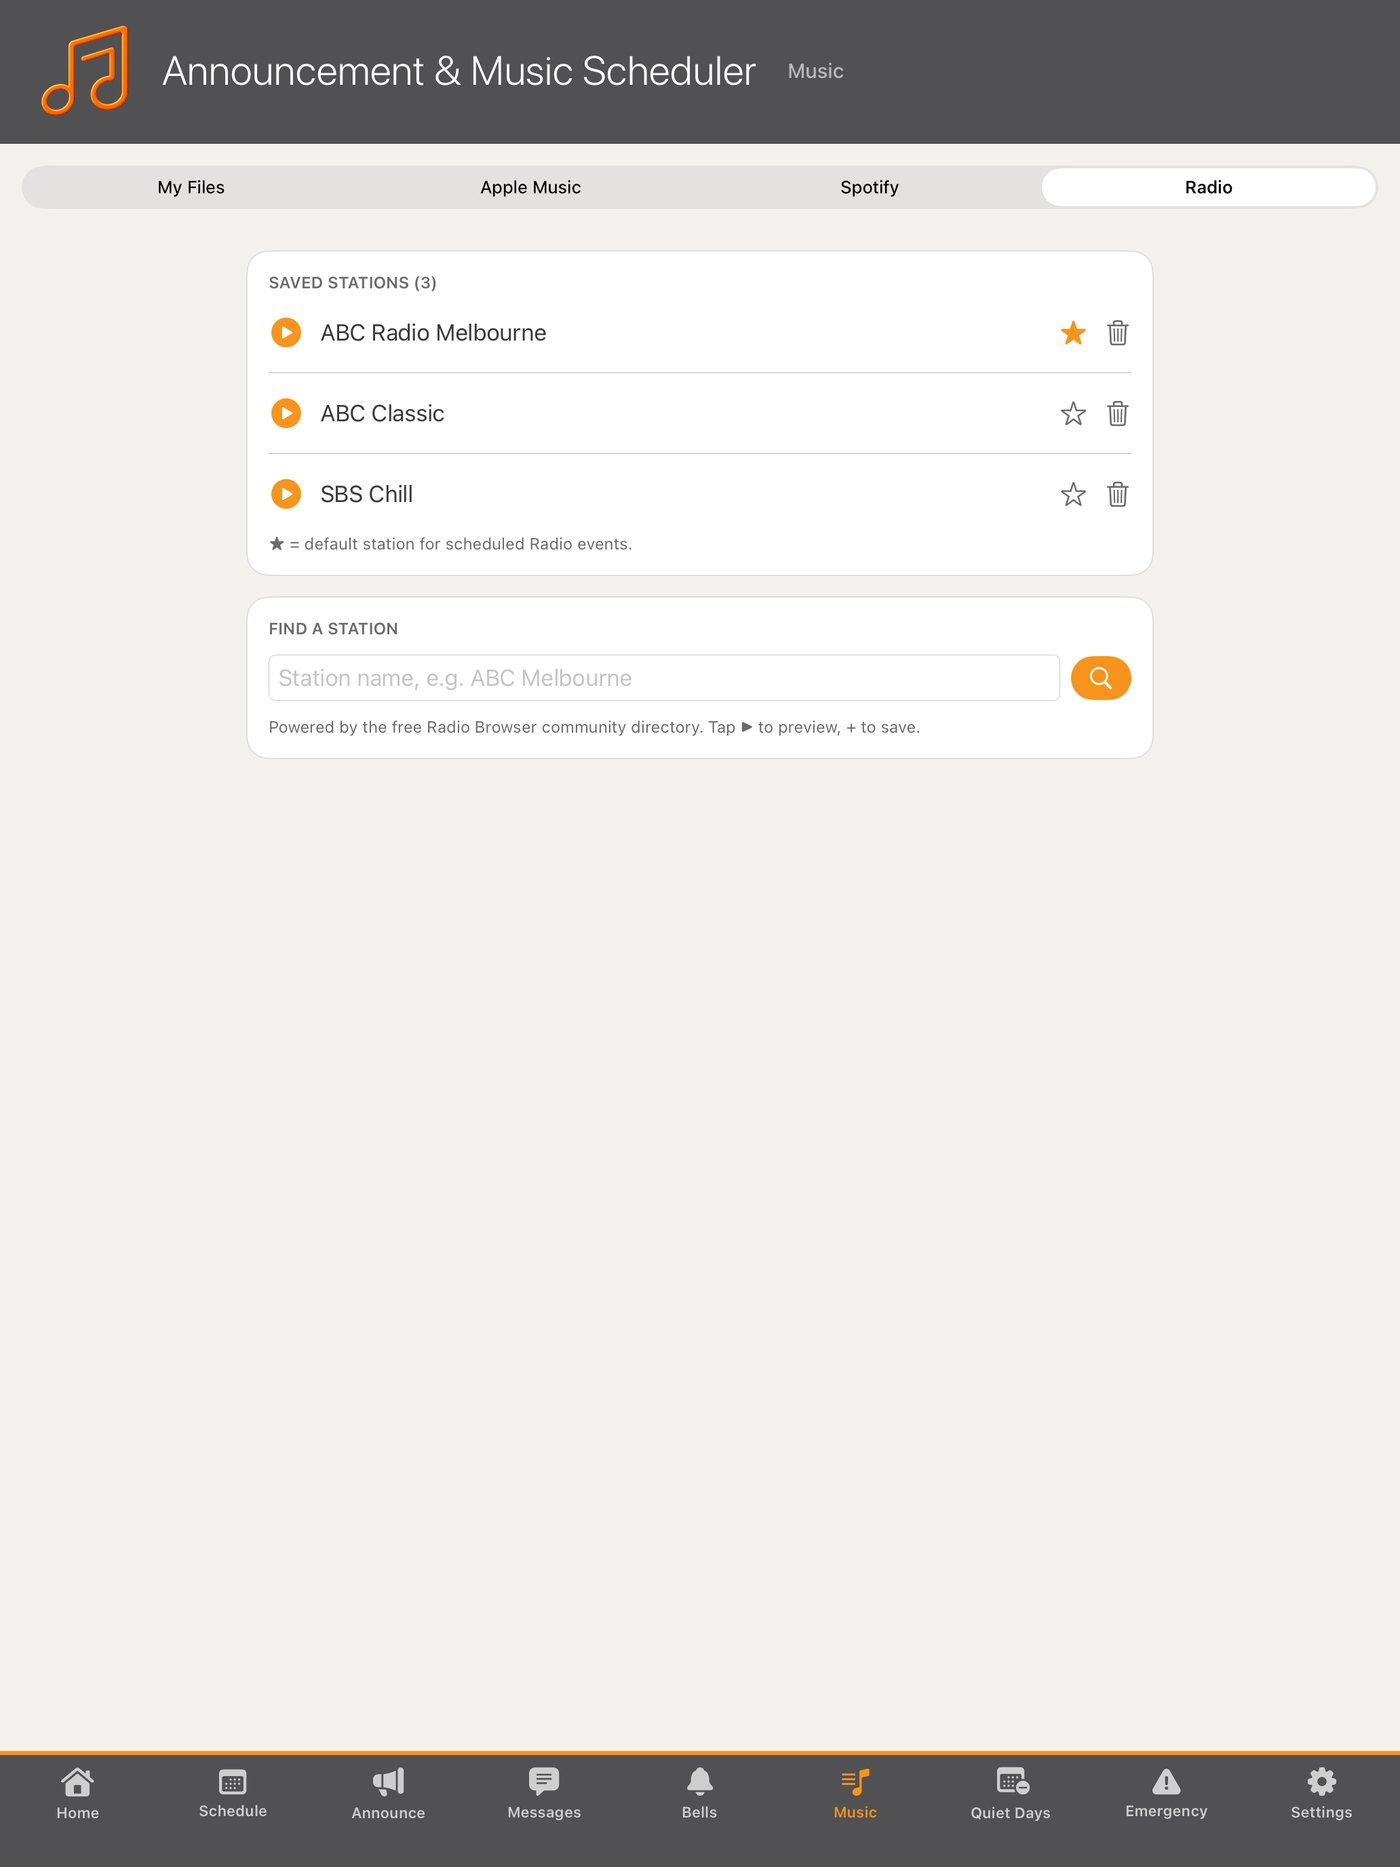
Add any internet radio stream by URL and schedule it like a playlist. Handy for venues that just want a station on in the background without managing music at all.
11Building the week
The Schedule tab is a weekly timetable. Pick a day across the top to see exactly what will play that day.
Adding an event
- Tap + to open Add Event.
- Choose the type: a recorded announcement, a spoken message, a bell, or music (your files, Apple Music, Spotify or radio).
- Choose which item — which recording, which message, which playlist.
- Choose the days: a single weekday, a weekday range, every day, or one specific date.
- Set the time and tap Save.
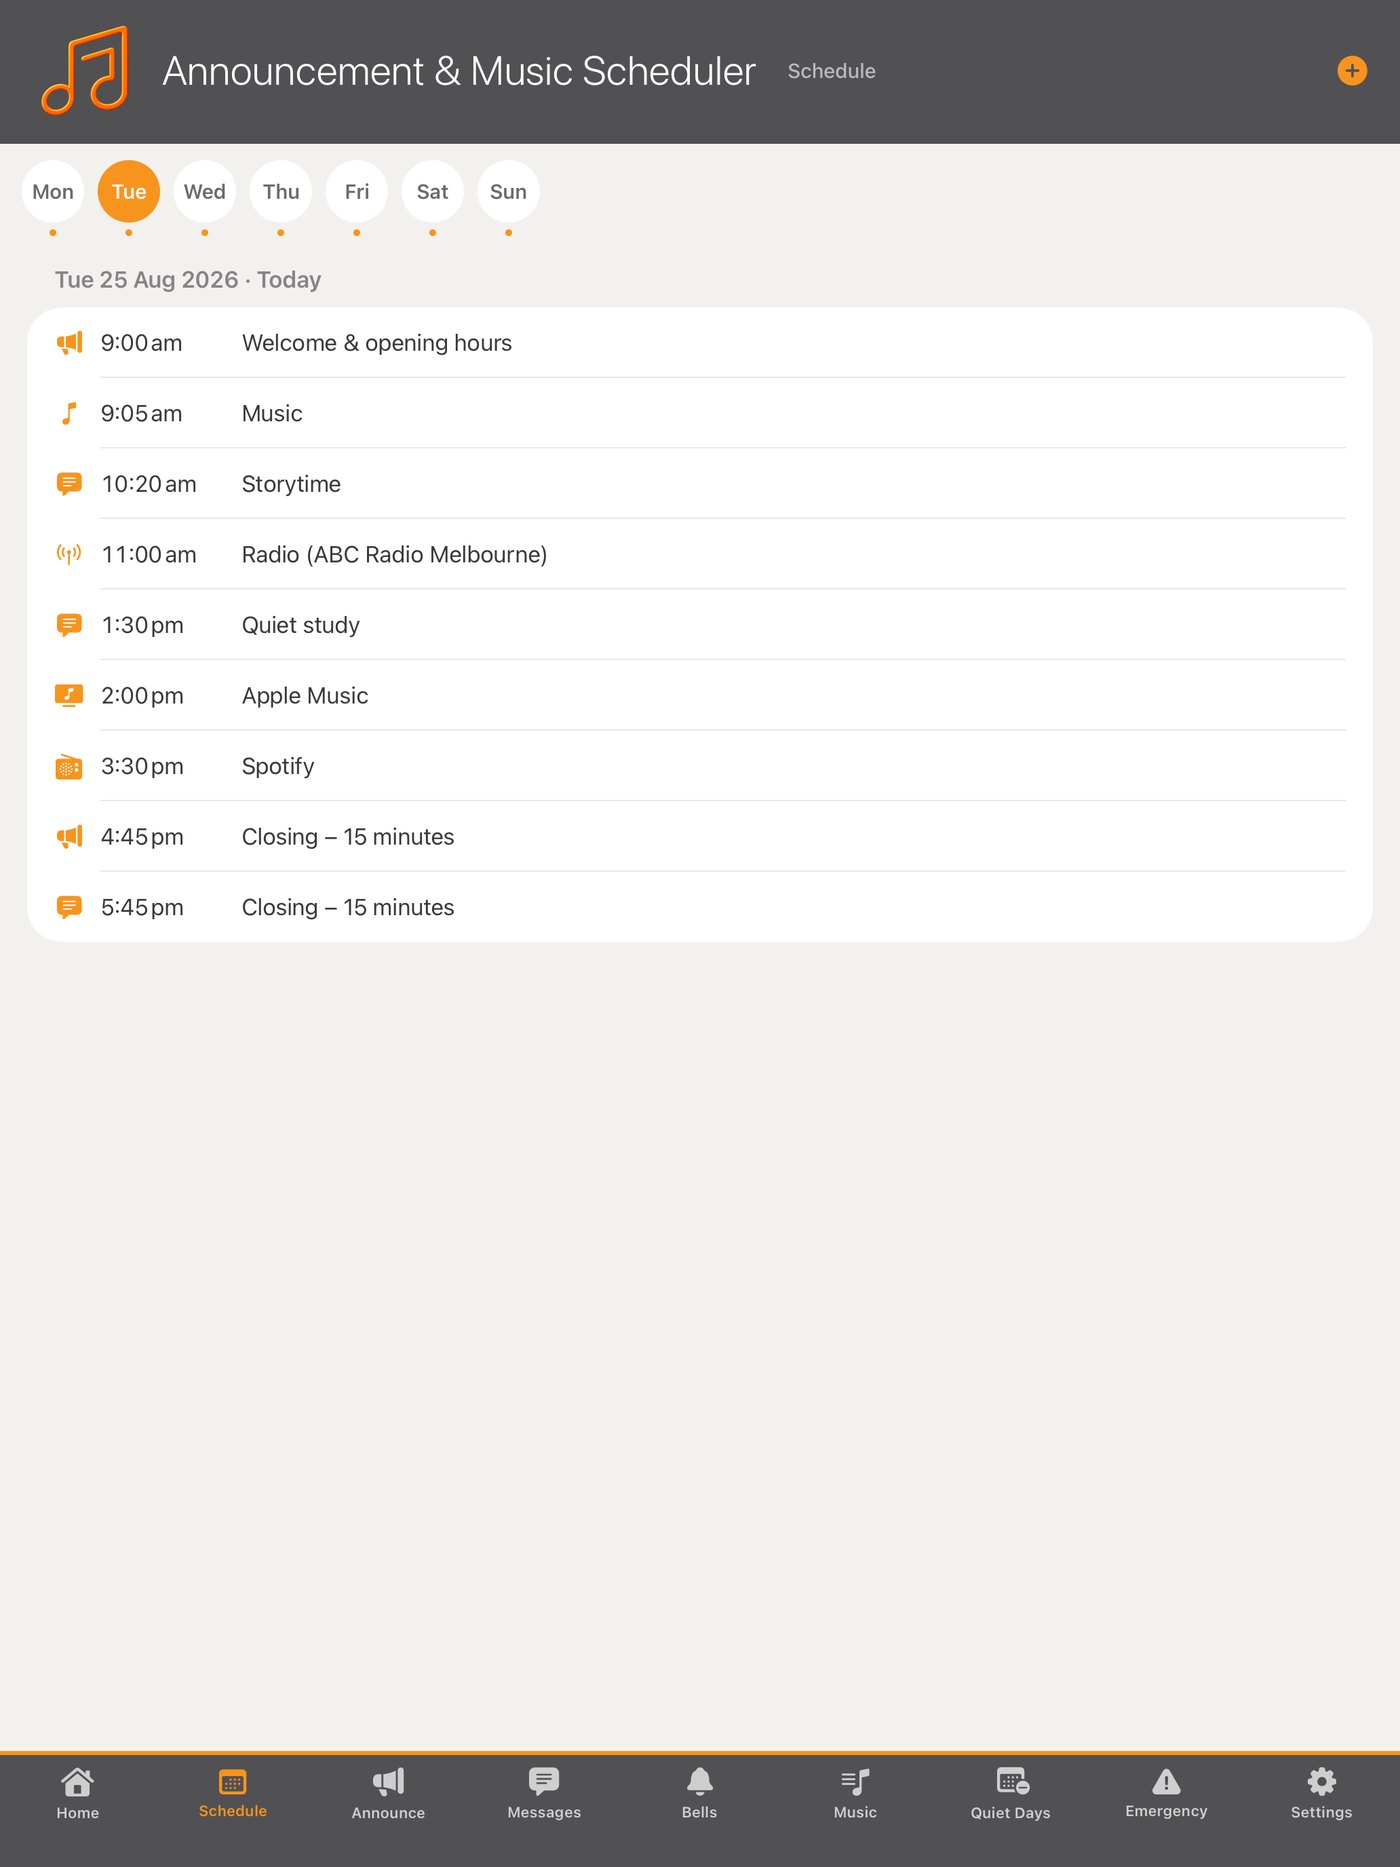
Most venues build Monday to Friday once, give Saturday its own shorter day, and never touch it again. There's no limit on events per day.
12One-off changes
Closing early for a public holiday eve? A special event on Thursday? You never need to edit the weekly routine for a one-day change.
- Change one date only: tap the event and choose Just This Day. Move the time or change what plays; it applies to that date alone and can be reverted any time.
- Change it every week: tap the event and choose Edit all occurrences.
- Skip one date: choose Skip this day. The event won't play on that date and returns to normal the following week.
- Delete: Delete all occurrences removes it from the routine completely.
13Quiet days
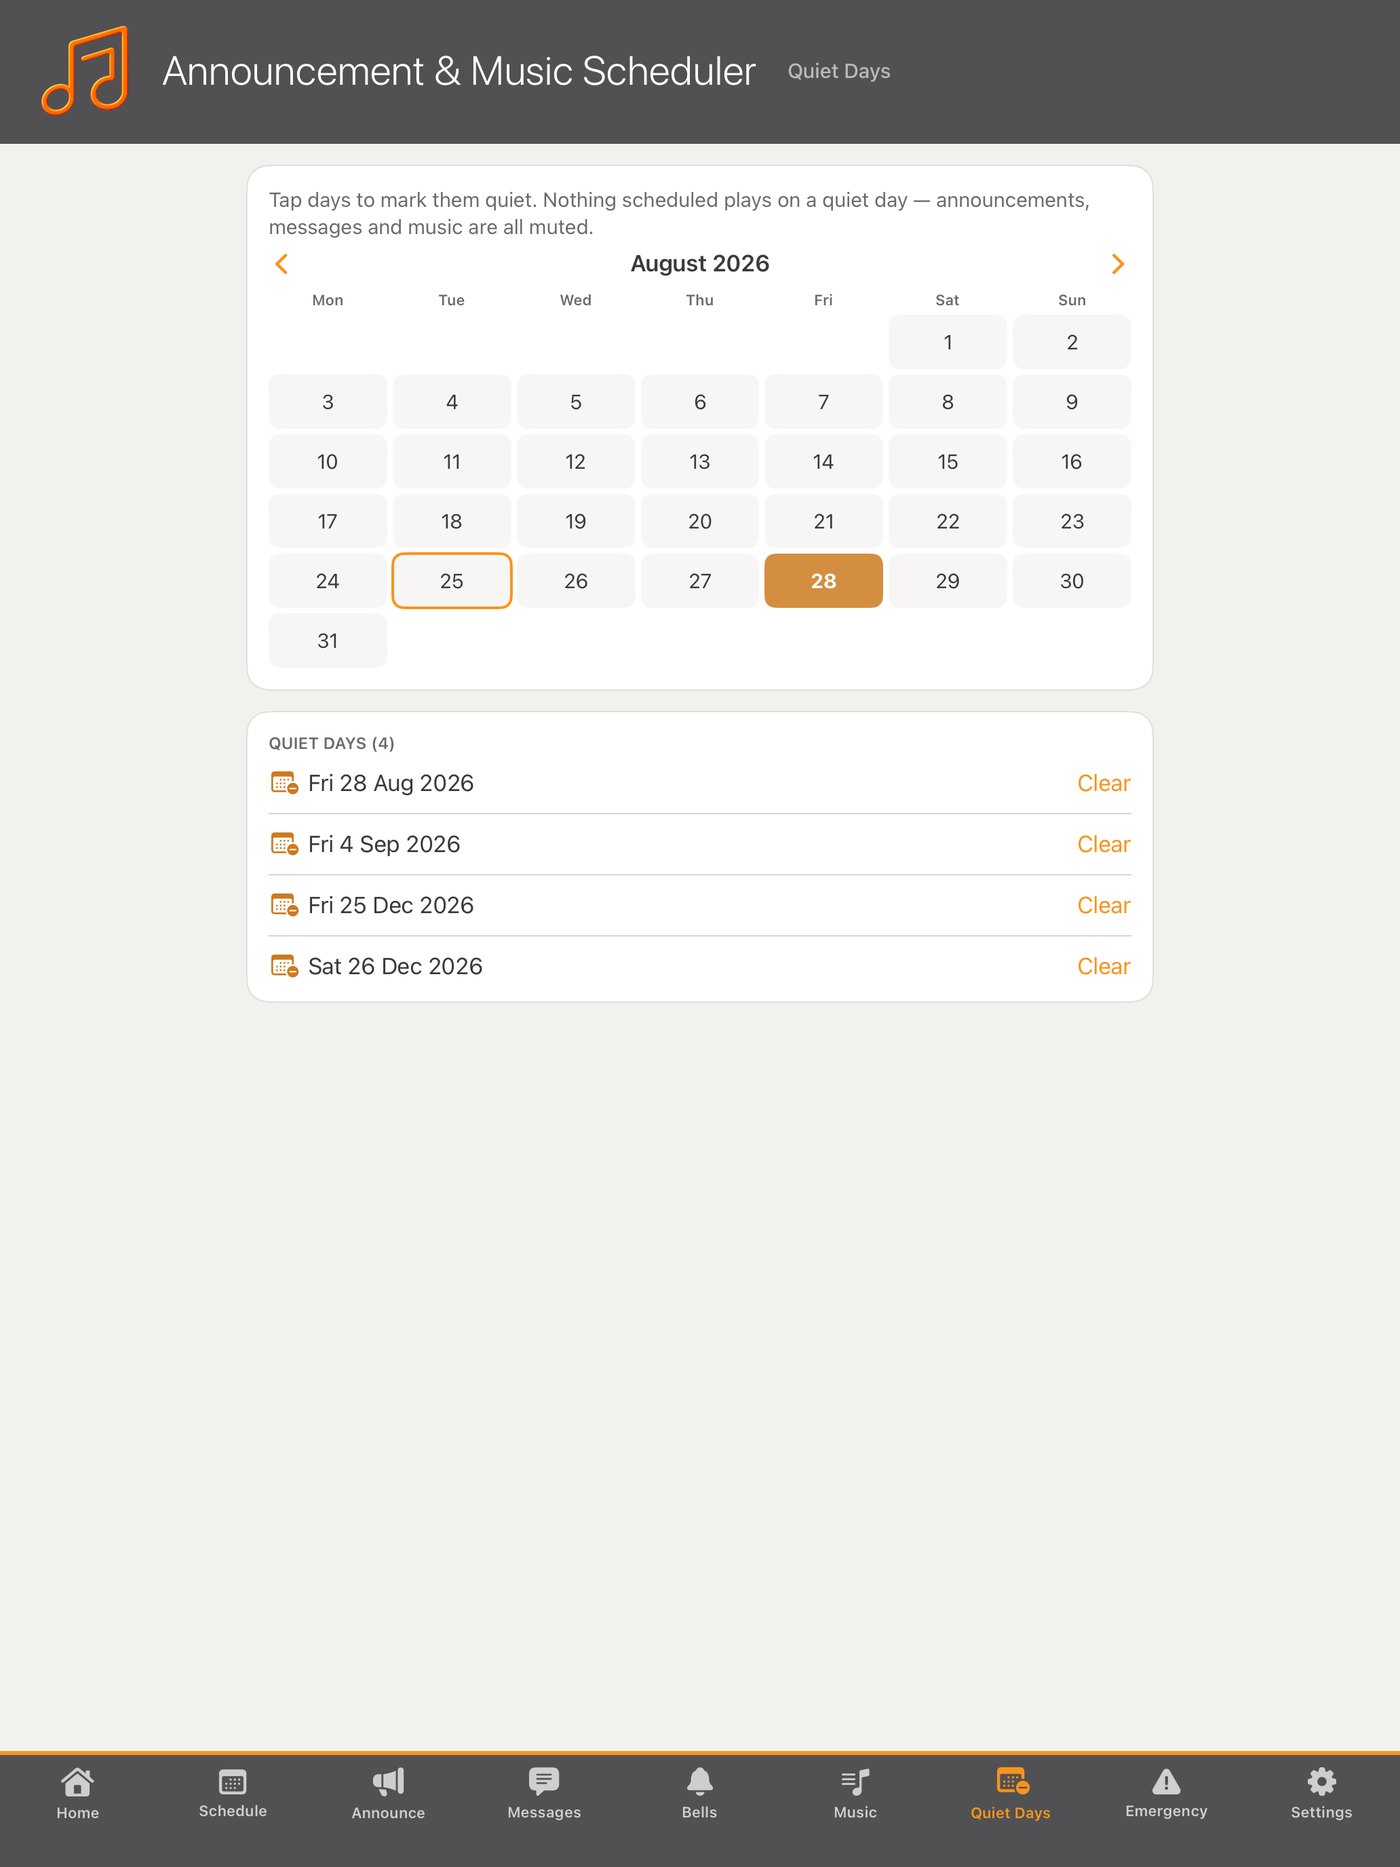
The Quiet Days tab is a month calendar. Tap any date to mark it quiet and everything scheduled that day is muted — announcements, messages, bells and music. Tap again to unmark it.
- Mark public holidays, shutdown periods and closed days in a few taps.
- Your weekly timetable is never edited. When the quiet day passes, everything resumes.
14The announcer voice
Set it up once in Settings → Announcer voice:
- Pick a voice. The default is the best Australian voice on the iPad.
- Set the speaking speed with the slider. Slightly slower than conversation carries better across a room.
- Tap Test voice to hear a sample through your actual speakers.
15Pairing a staff phone
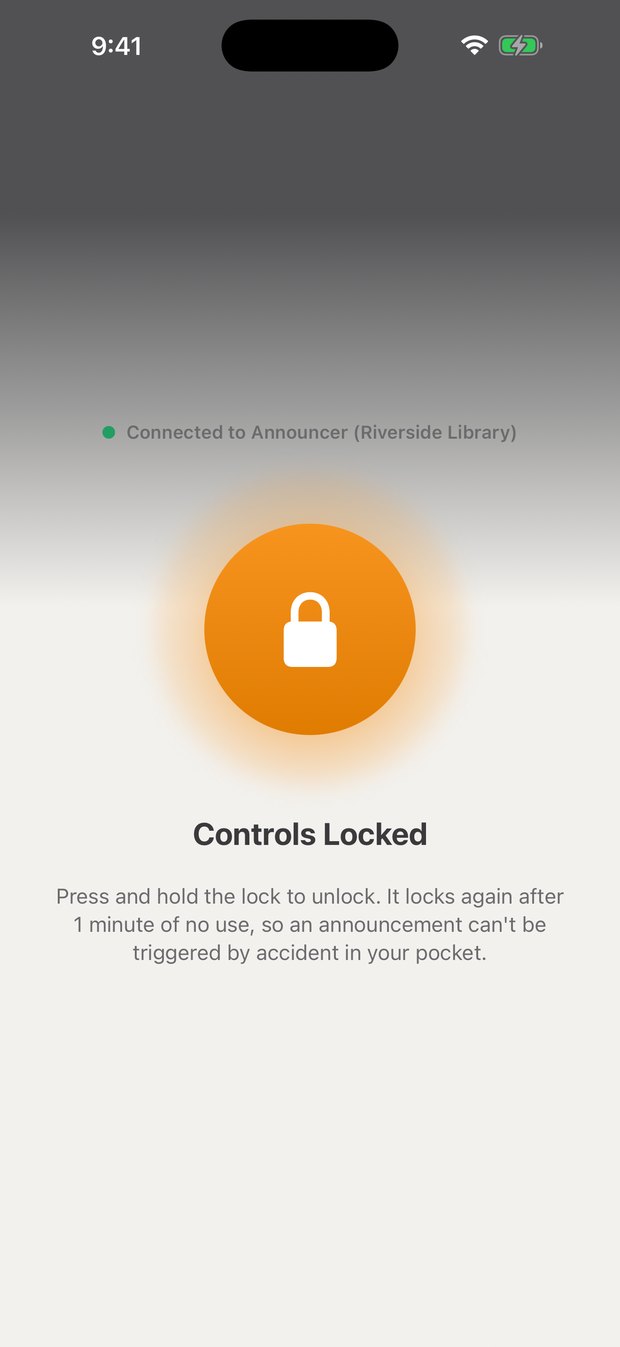
The free companion app, Announcer Remote, turns any staff iPhone into a remote control. Pairing is protected by a code — without it, no phone can touch the system.
On the iPad
- Open Settings → Remote Access. You'll see the station's pairing code.
- Tap Set code to choose your own, or Generate random for a fresh six-digit code.
On the iPhone
- Install Announcer Remote from the App Store (free).
- Make sure the phone is on the same Wi-Fi as the iPad.
- Open it — the station appears automatically. Tap it and enter the pairing code.
- That's it. The phone reconnects by itself from now on and never asks again.
16Using the phone remote
Once paired, staff have the system in their pocket anywhere on the network:
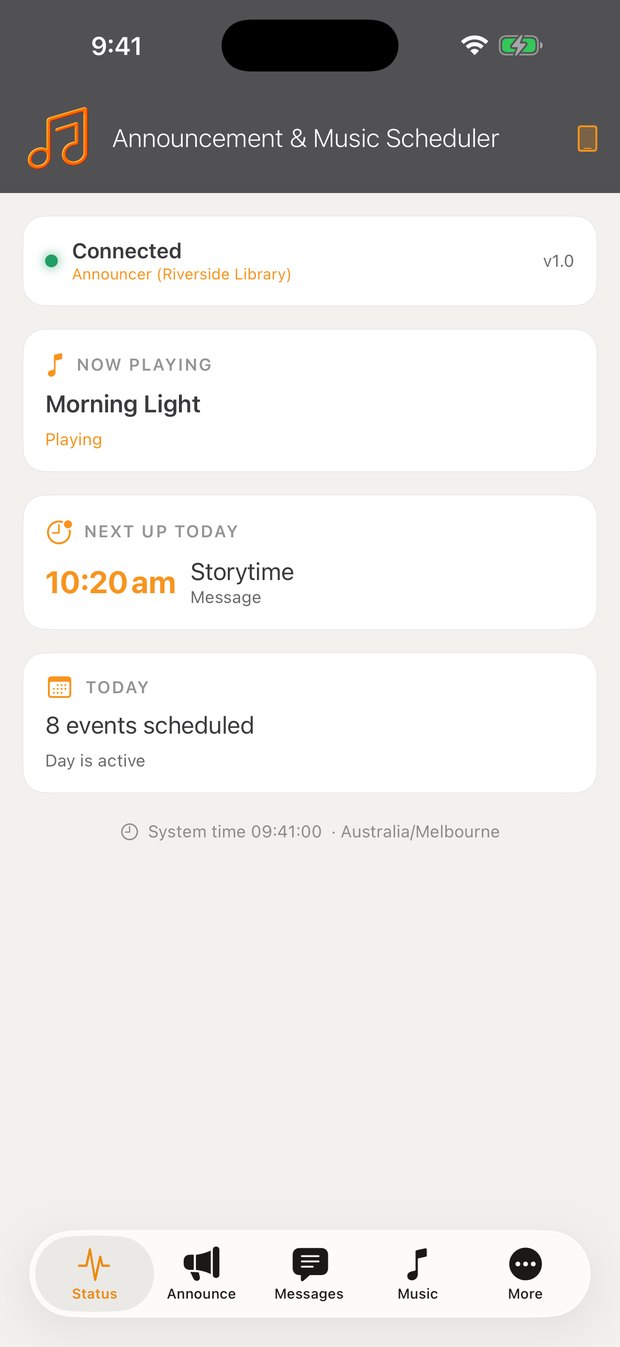
- Status — what's playing, what's next, and today's timetable.
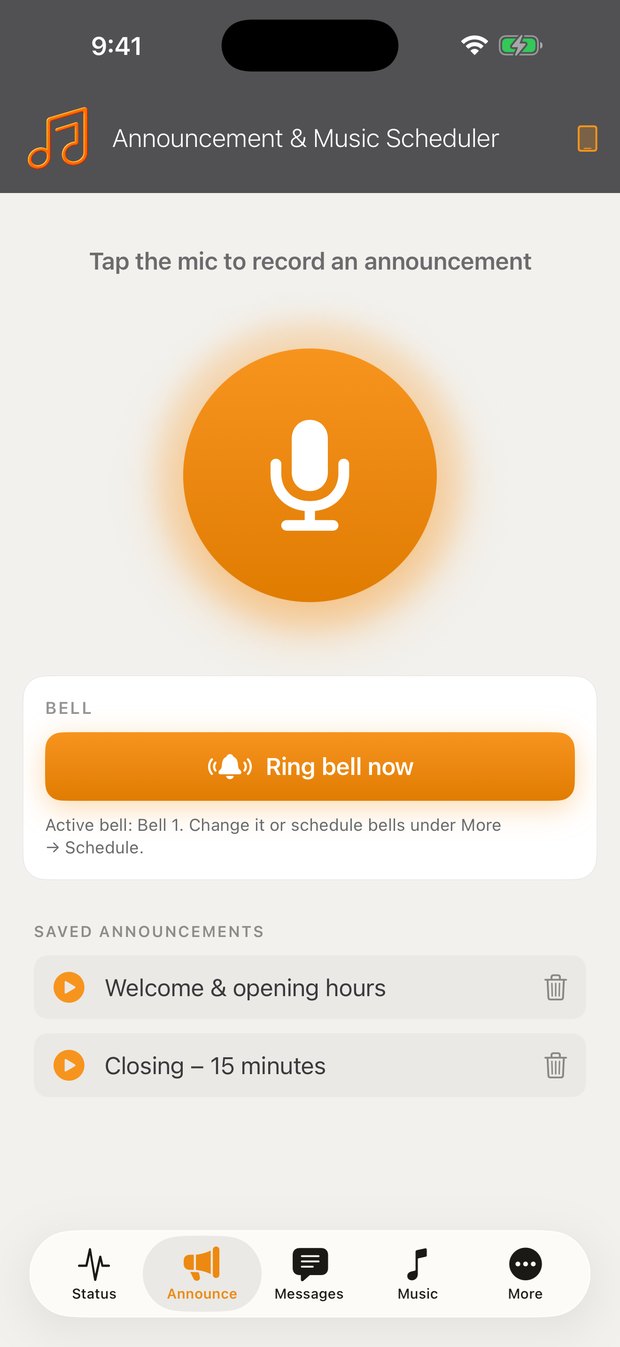
- Announce — record in your own voice and play it over the PA, with the attention chime. Save it to the shared library for next time.
- Messages — type something and have it read out, or replay a saved message.
- Music — change what's playing, or stop it.
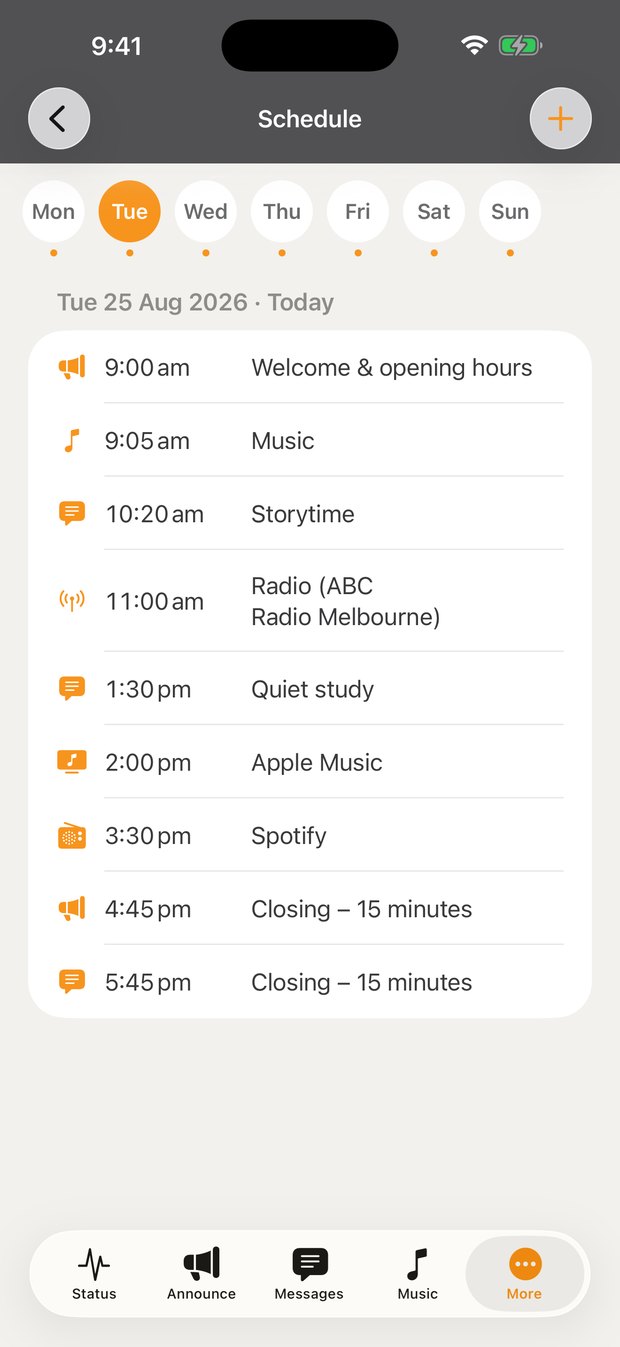
- Schedule & Quiet Days — the full editors, same as the iPad. Fix tomorrow's timetable from the front desk.
17The emergency page
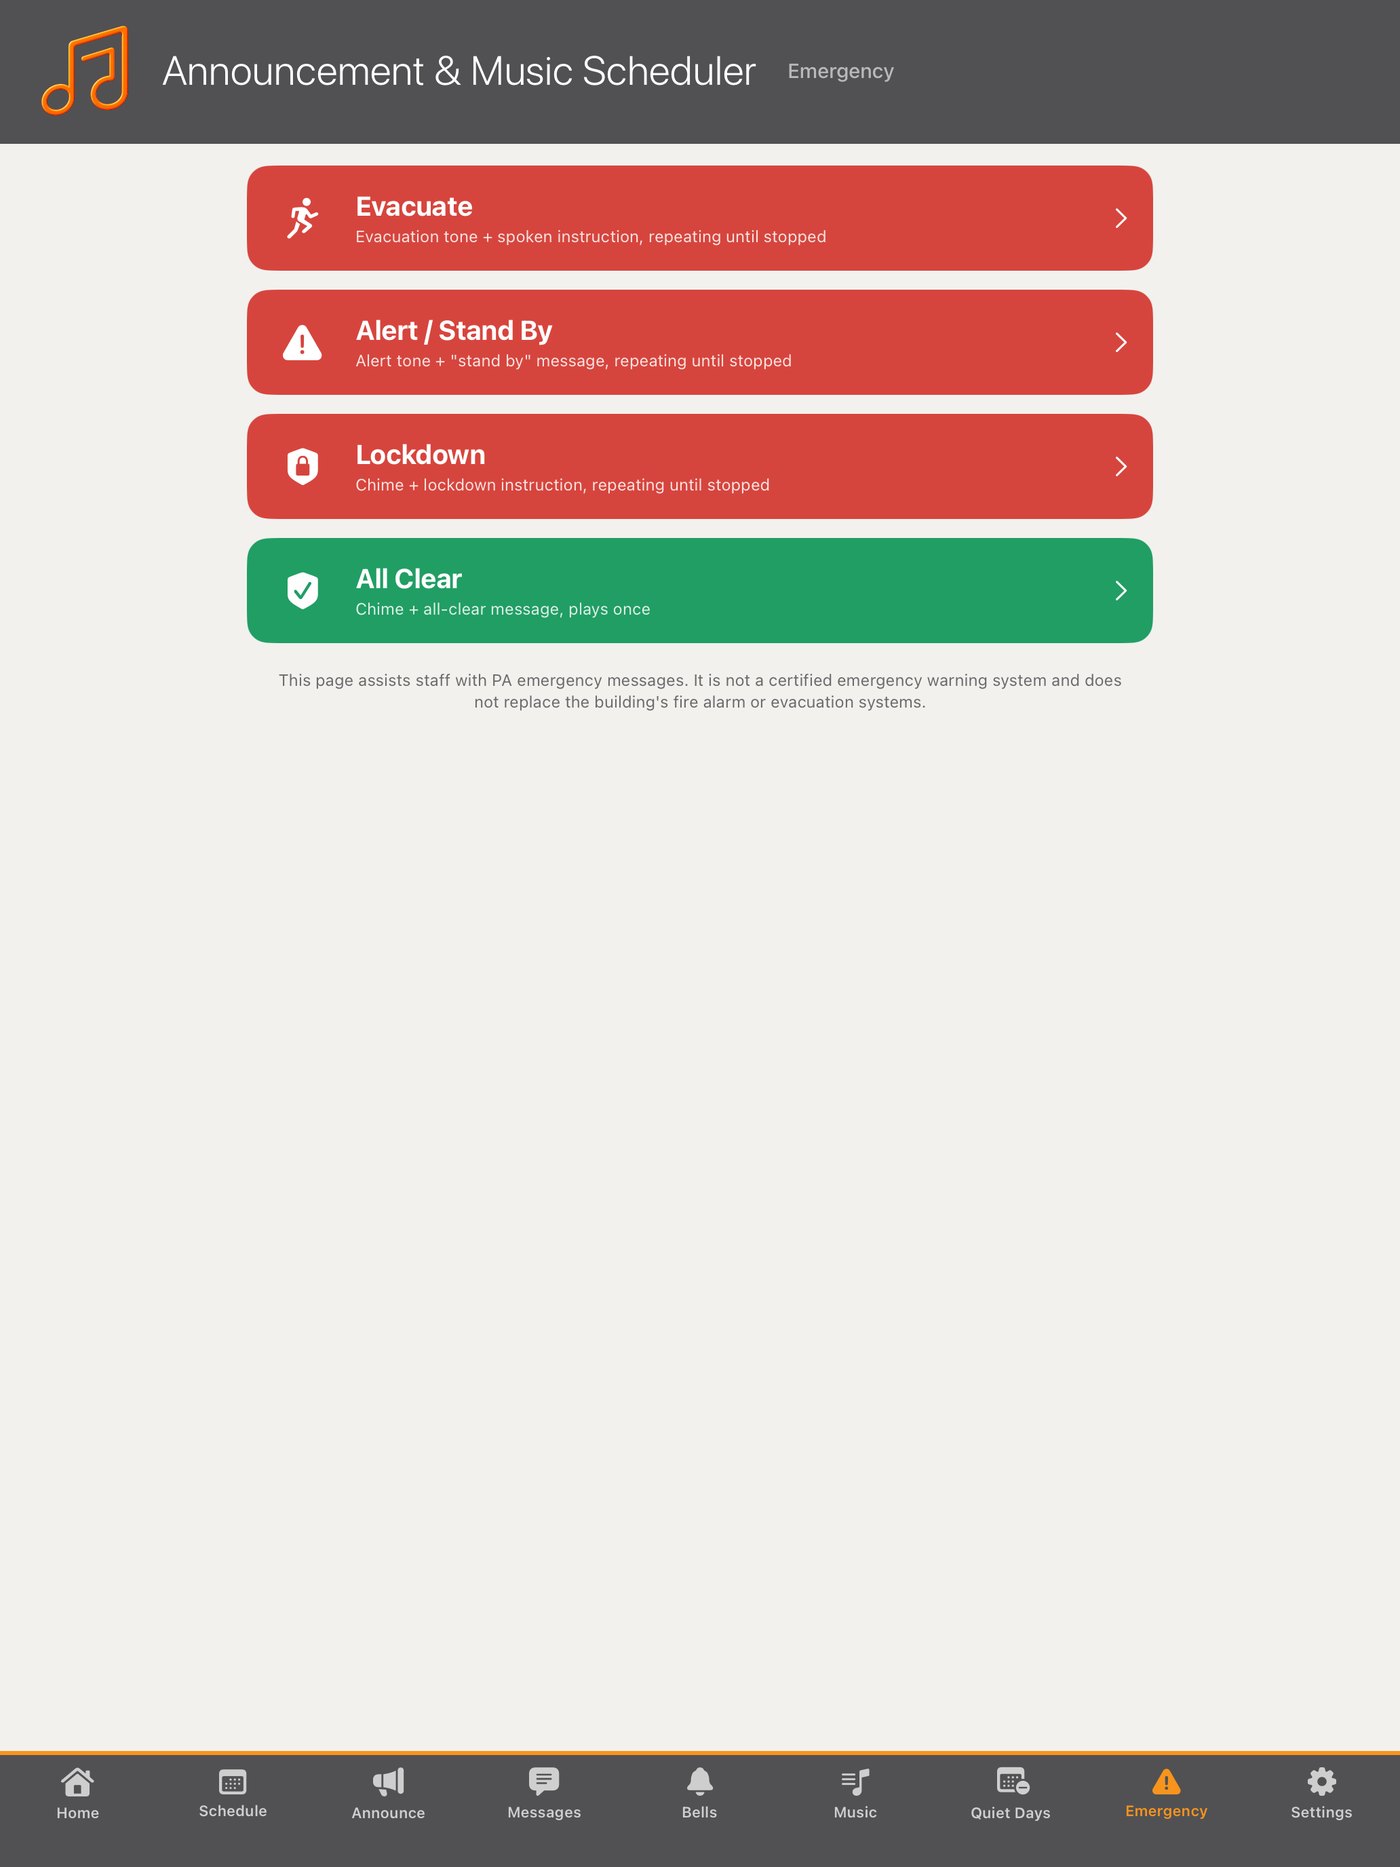
The Emergency tab provides four attention signals that play over the PA and loop until you stop them: Evacuate, Alert, Lockdown and All Clear. Each pairs a distinct tone with a spoken instruction.
- Starting one silences everything else — music stops, and the schedule pauses until you stand down.
- All Clear plays the stand-down and returns the system to normal.
- It's available on the phone remote too, so it can be started from anywhere on site.
18Screen lock and kiosk mode
For an unattended station, lock the screen so nobody can change the schedule in passing:
- In Settings → Kiosk, set a lock PIN.
- Lock the screen. The iPad goes to the venue display, and any tap asks for the PIN before showing the controls. Everything keeps playing as normal — locking never interrupts the schedule.
Sealing the app with Guided Access
The PIN protects the controls; Apple's Guided Access stops the app being closed at all:
- iPad Settings → Accessibility → Guided Access — turn it on and set its passcode.
- Open Announcement & Music Scheduler and triple-click the top or side button, then tap Start.
- The iPad is now a sealed appliance until the passcode unlocks it.
19Backup and restore
Once the station is set up, take a backup. Five seconds now saves an afternoon later.
- Settings → Backup & Restore → Export backup saves everything — the timetable, quiet days, saved announcements, messages, bells and settings — to a single file. Email it to yourself or drop it on a drive.
- Restore from backup brings it all back, on the same iPad or a brand-new one. Replacing the iPad in three years becomes a five-minute job.
Your imported music files are re-imported separately, because music is large and doesn't travel inside the backup file.
20Trial and subscription
- The app is free for 7 days with everything unlocked — enough to prove it on your own speakers.
- After that, a simple auto-renewing subscription keeps it running: A$19.99 per month, about US$12.99 depending on your region. One subscription per station iPad. The phone remote is free for the whole team.
- You can reach the subscription at any time from Settings → Subscription, including during the trial.
- Manage or cancel it any time in your Apple ID subscription settings. Moved to a new iPad? Use Restore Purchase.
21Getting help
Settings → Help & Feedback emails us directly. We read every message and we're happy to help with setup, hardware questions, or anything else.
Email: chrisc@reflectionsav.com.au
Quick troubleshooting
| You see | Cause and fix |
|---|---|
| Nothing comes out of the speakers | Check the iPad volume is up and the amplifier input gain is up. Use Settings to play a test. Confirm the lead is in a LINE or AUX input, not a microphone input. |
| The phone can't find the station | The app isn't running on the iPad, or the phone is on a different Wi-Fi network. Open the app on the iPad and check the phone's Wi-Fi. |
| Spotify events stopped playing | The Spotify sign-in expired. Settings → Spotify → Link again. |
| Nothing played this morning | Check whether today is marked in Quiet Days, and that the iPad is on and the app is open. |
| Hum from the speakers | A ground loop through the charger. Fit a ground-loop isolator on the audio lead, or use a different power point. |